
This article is part of Snip to It’s Design Space Mastery series of articles, focusing on files and software setup.
Virtually every Cricut user will eventually want to use their own (or downloaded/purchased) photos, designs, and projects in Design Space. What’s the point of having these versatile machines if you can’t completely personalize projects?
This tutorial will show you how to upload your own SVG vector graphics to Cricut Design Space for cutting, printing and drawing projects. If you’re not sure what an SVG file is or how it compares to PNG and JPG images, check out our quick guide to image file types for Design Space.
Why do I need to upload files to DS? Don’t they have tons of images?
It’s true that Design Space has almost 1.7 million images and over 300K projects in its library for users, but most of those are for Cricut Access subscribers. So if you choose not to subscribe you may have to look to other sources for images and projects.
Even Access members (like me!) usually want to be able to use their own images. Sometimes you need personal images and there’s nothing like it in Design Space. If you are making a project to commemorate a beloved pet, you can’t choose a generic image from Cricut’s library. You need a picture of your doggo to make it perfect.
Or maybe you see a complete, amazing project from Dreaming Tree or Etsy, something that DS just doesn’t have. Perhaps you’ll want to use one of Snip to It’s ah-mazing cut files! All of that needs to be uploaded to Design Space before you can use them with your Cricut.
How to add SVG images from the Design panel
To upload one of your own SVG files to Design Space, start on the canvas and click the Upload tool icon in the Design panel on the left side of the screen.
When you click the Upload tool, Design Space will open a new screen, with an option to start an upload from your computer at the top of the screen, and an option to browse images you’ve already uploaded to DS.

Click the Upload image button to go to the File browser window. Here, you can either drag a file into the upload area or browse on your computer for the image.

Next, you’ll see a preview of your file for confirmation, and Design Space will also show you similar images from the Access library. This is an extra screen in the process to attempt to entice you to use Cricut’s images in your projects (and to sell you an Access membership).

Add Tags and Categories
After you confirm, you’ll go to another nearly identical screen, but you can edit some of the details before you add your SVG. Specifically, you can edit the filename, add tags to help you search for the image later, and you can assign the image to a Collection. Image collections are folders in Design Space where you can organize your uploads by theme, topic, occasion, or whatever system makes sense to you. Your image collection is completely up to you.
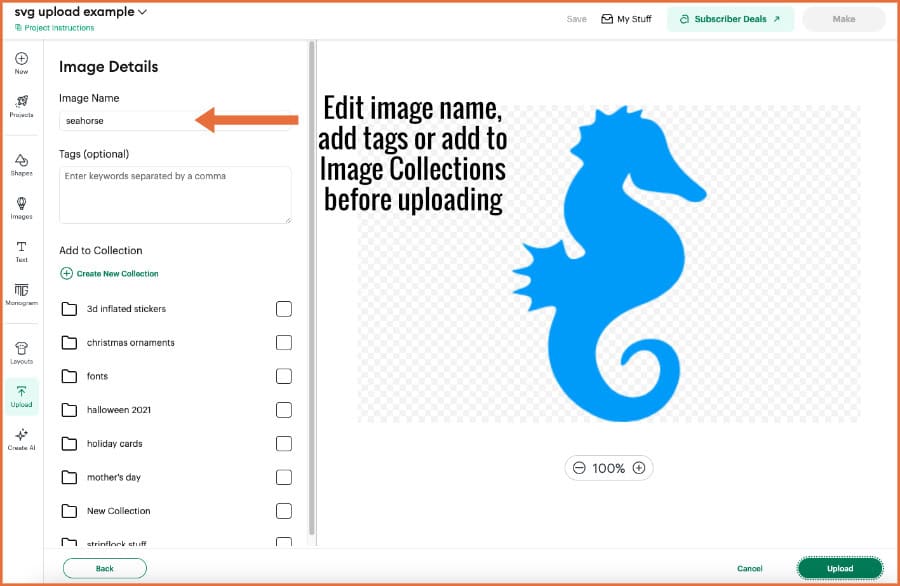
Image on the Canvas
After the SVG is added to the Canvas, you’ll also see it appear in the Layers Panel. In most cases, multi-layer SVG files will be uploaded as a group, and you will need to open the group in the Layers Panel or select the Ungroup option to select or edit individual components of the design.
SVG files usually appear exactly as designed, but if the design appears off, check the Layers Panel, Ungroup and select each layer in the image to find any problems.
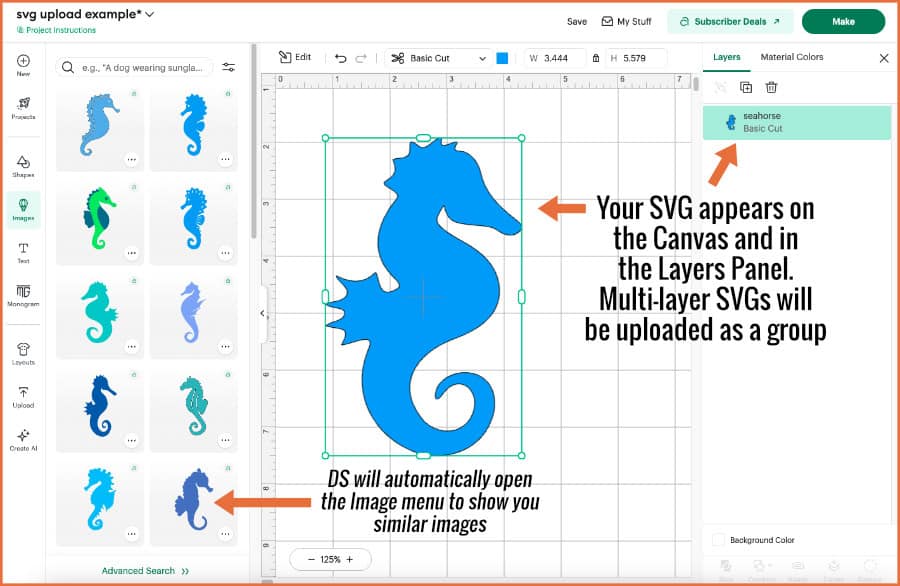
Once again, after the image has been added to the Canvas, Design Space will automatically open the Images flyout menu to suggest similar images withing the Cricut Access library in an attempt to entice you to use their images (an ultimately become a subscriber).
Next Steps in Design Space…
Now that you’ve learned the basics of adding an SVG to the Canvas, the next key skill to master is going through the process of uploading a PNG or JPG file for your project. The steps are similar, but you’ll be learning to use different tools like the Background Remover and Image to Layers feature. Once you get the hang of these image uploading processes, the sky’s the limit for source images you can use for any project!