
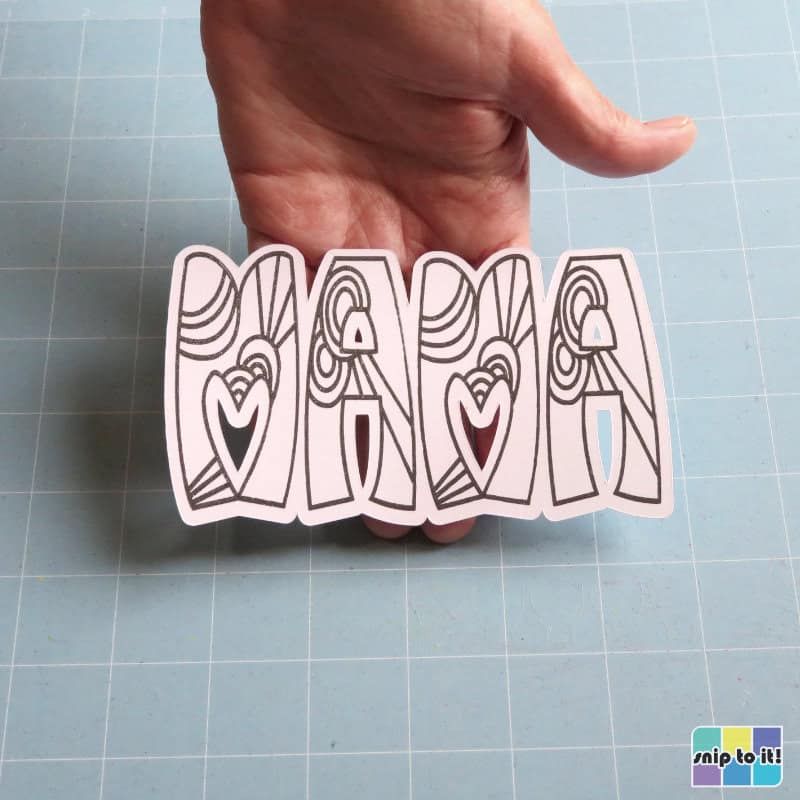
I’m going back to cardmaking basics with a simple and fun retro-style Mother’s Day card that is perfect for beginners. Choose your Mom or Mama’s favorite colors and just put these together with cardstock and pen! I used one of my favorite fonts, Jump, which looks like warm, hand-drawn illustrations from the 60s. I have used this font for foiling, but I also love it drawn with pen or markers.
The finished cards are about 5.75″ wide and just over 3″ tall, so they fit in a standard 4×6″ envelope.
Pin this post!
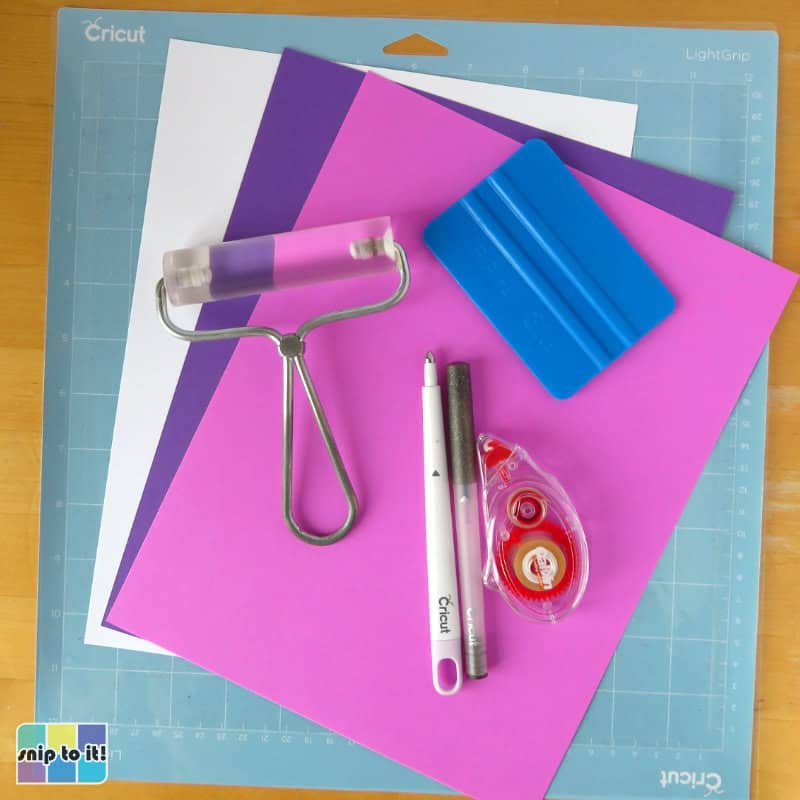
Materials and tools:
- Cutting machine – I’m using a Cricut Maker 3, but you can use any cutting machine with SVG-compatible design software
- Scoring Stylus or Scoring Wheel (or you can fold the card in half/score by hand)
- Cut file – download the SVGs from our Resource Library
- Cutting mat – I’m using a blue Light Grip 12×12″ mat
- Brayer
- squeegee/scraper
- cardstock – I’m using 65 lb cardstock, Astrobrights and Recollections brands. You need 3 different colors for the layers
- pen for writing the font on the front, I used Cricut Glitter Gel pens in Black, Plum, and Peacock for the 3 different cards I made
- adhesive – I used dollar store tape runner, you can use glue if you prefer (I like Art Glitter glue)
Download the SVGs
Both the MOM and MAMA SVGs for these cards are bundled together in one download available in our Resource Library. Find the Mother’s Day section of the library and you will see the image for the zip file, just download it and choose whichever design you want to make.
Upload & prepare your file in Design Space
Basic cut will be the default operation for all line types in this file, so you have to tell Design Space which lines to draw, score, and cut.
Open Design Space and start a new project.
1. Upload the SVG (if you have trouble with this step, you can check out our full guide to uploading images)
- Click the Upload icon in the lefthand sidebar
- Click the Upload Image button and follow the prompts (Upload image > choose the file from your download folder > Upload)
2. Select the image and Ungroup (top of Layers panel at the right side of DS canvas)
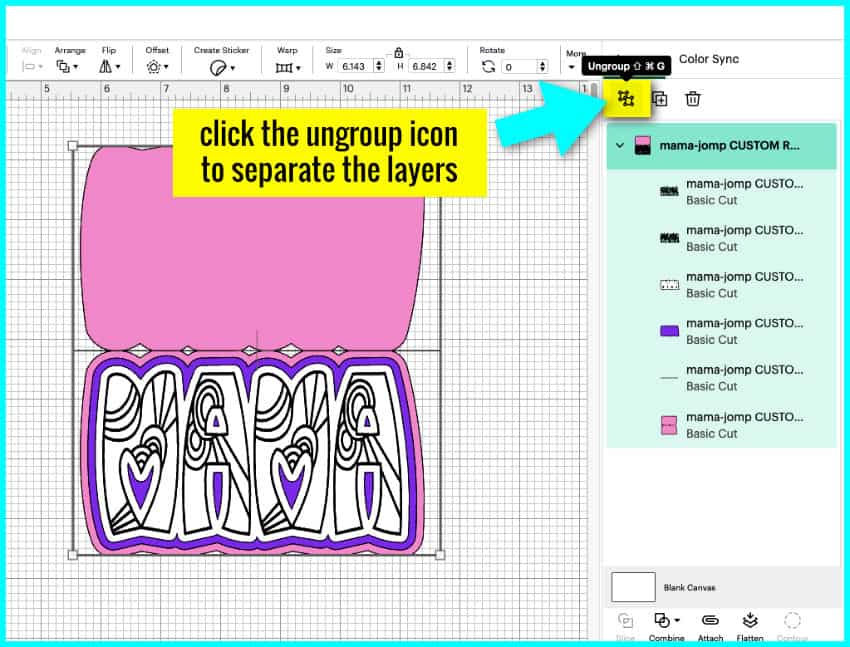
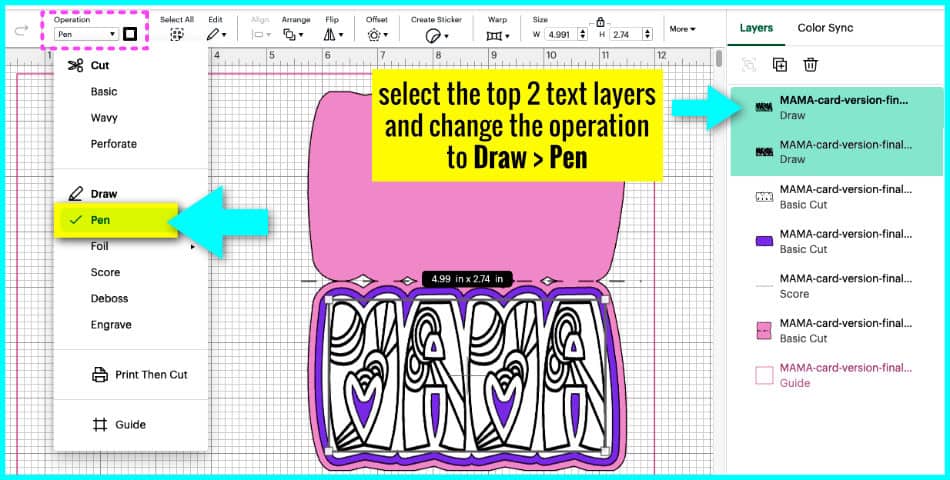
3. Working from the top layer downwards: The first two layers are the text layers (this is the original text plus an inset layer to fill it in; you can check out our tutorial if you want to know how to fill in letters with a pen).
Select both layers and change the operation to Draw > Pen. Select your pen type and color from the color menu next to the operation pulldown menu. Mine is Glitter Gel in Black.
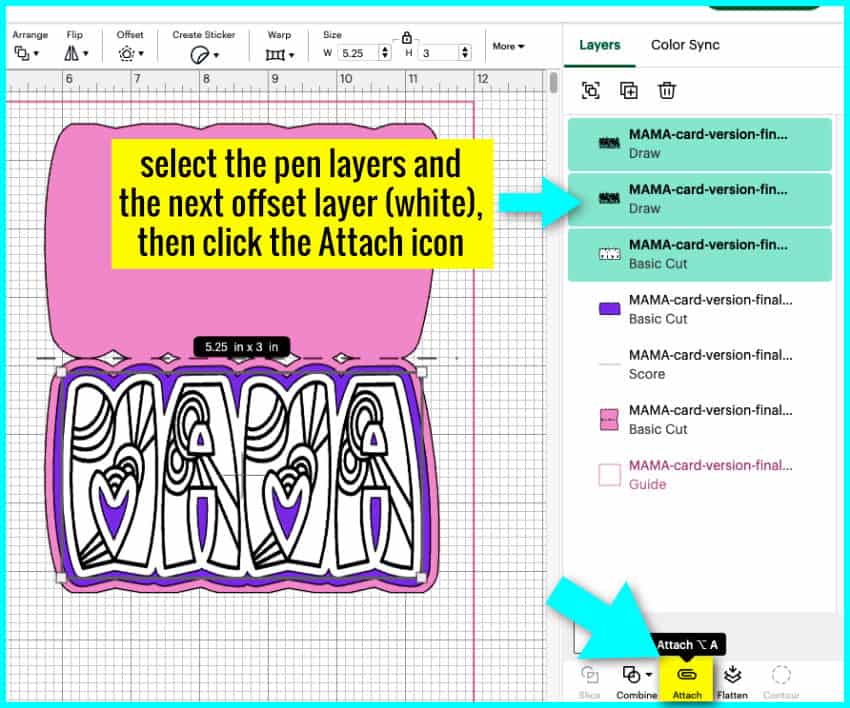
4. Select both pen layers and the first (white) offset cut layer. They should be centered, but if you have moved any of the layers, use the Align tool to make sure all three layers are centered horizontally and vertically. Then, click the Attach icon at the bottom of the Layers panel.
5. The next offset layer (purple) does not require any changes.
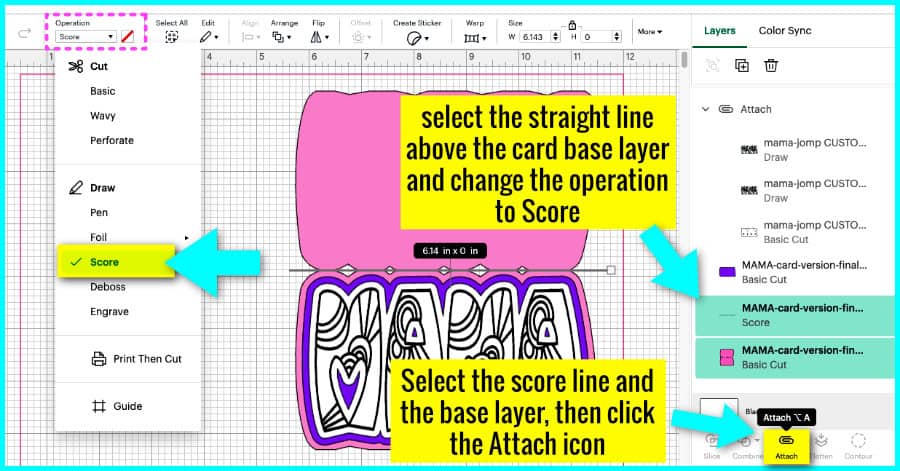
6. Highlight the next layer (it is a single line) and change the operation from Basic cut to Score.
Select the score line and the card base layer underneath. If you have moved either layer, make sure they are centered horizontally and vertically, then Attach them together.
7. Save your project then click the Make button.
This project will be made on 3 mats. Make sure to follow the prompts on the Set, Load and Go screen, and this project should be simple to draw, score, cut and assemble!
First layer: draw then cut
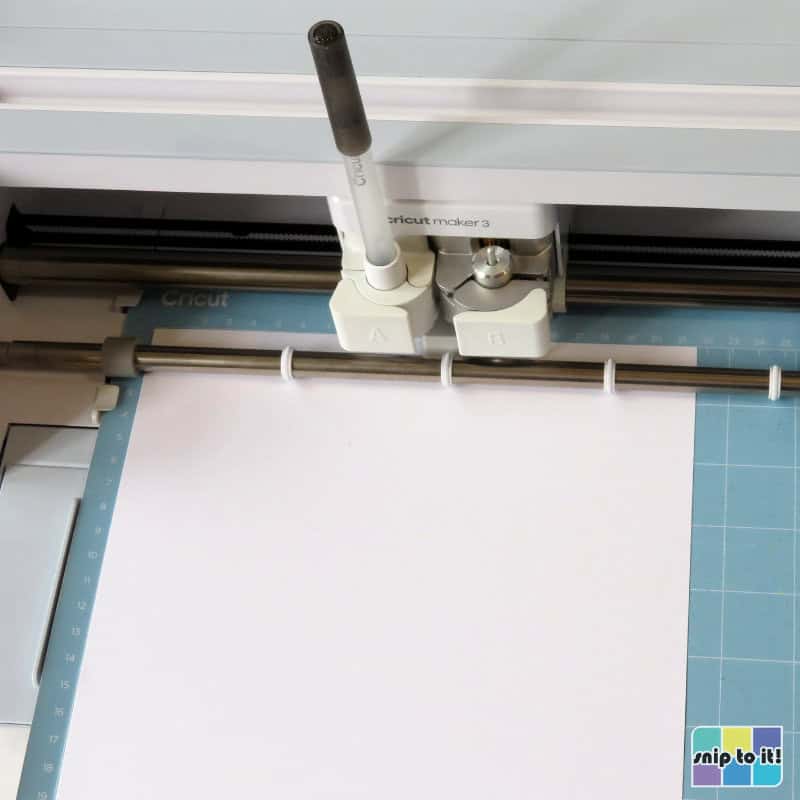
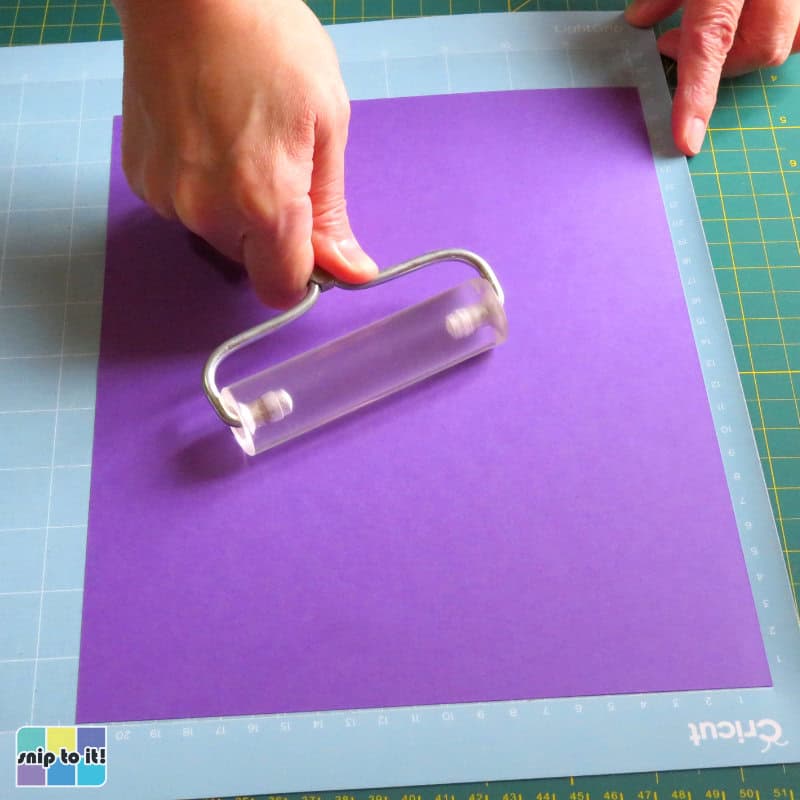
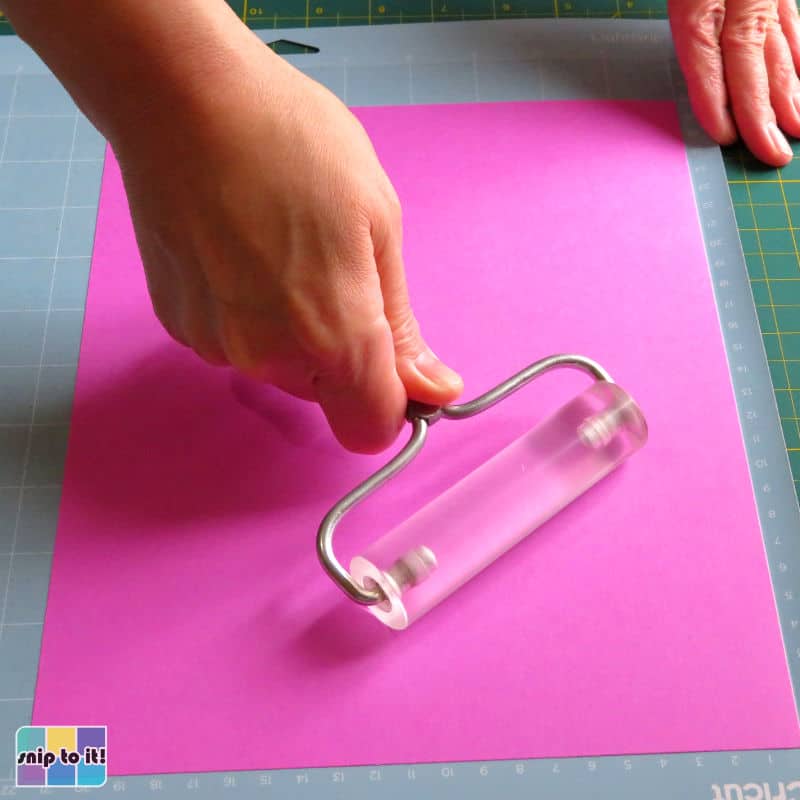
Use your brayer (or a felted squeegee, or your hands) to attach your first layer of cardstock to the mat. I’m using white for my first layer, which will include the drawing from the gel pen.

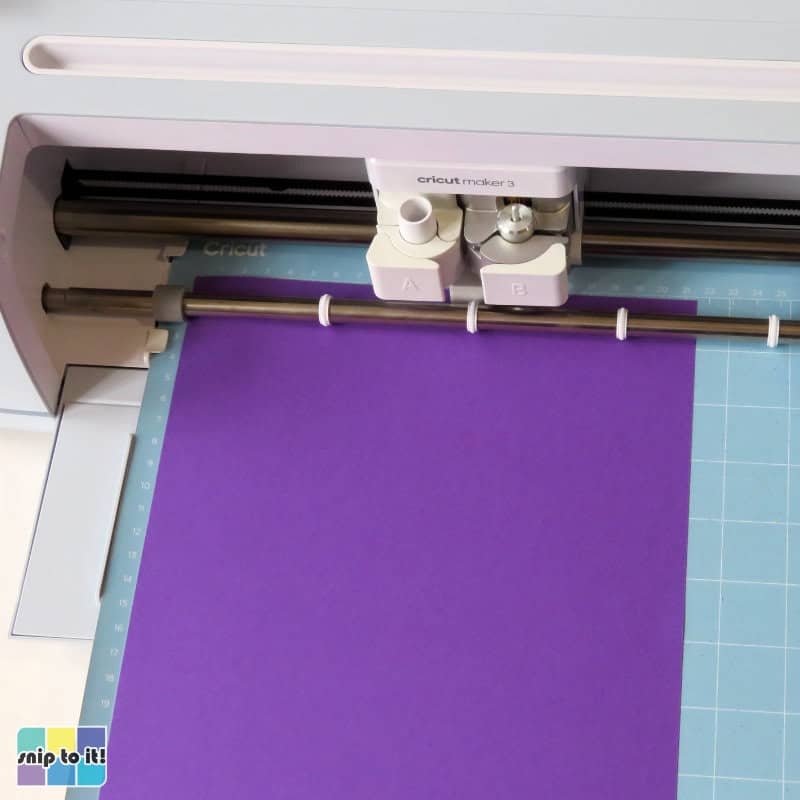
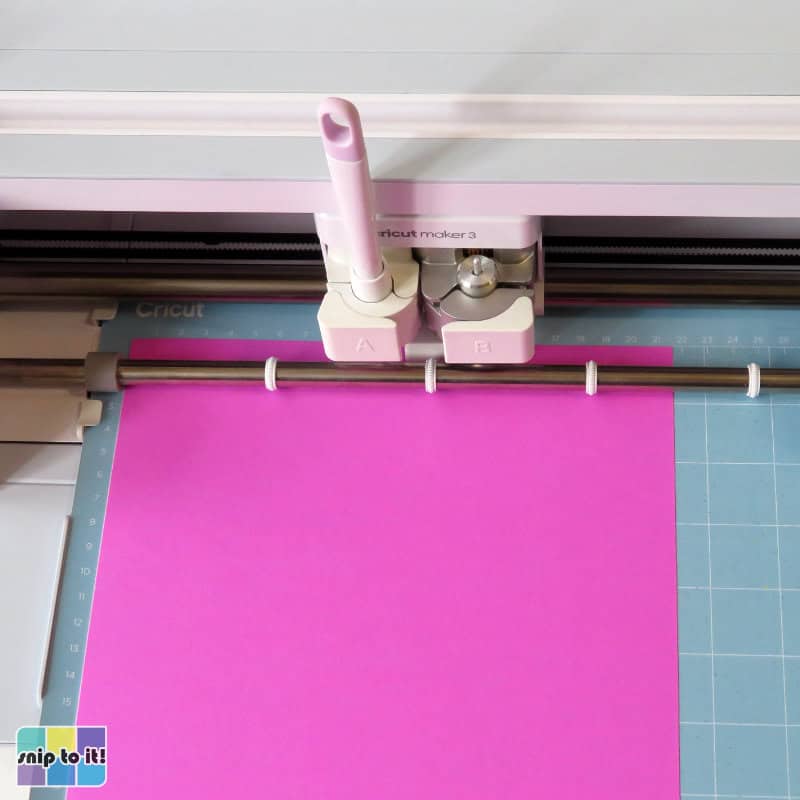
Load the tools you need into the machine: a pen in Clamp A and your Fine Point Blade in Clamp B. Choose your material: for 65lb cardstock, choose the Medium Cardstock setting. If you’re using an Explore Air 2, choose More pressure on the Set Load & Go screen.
Be patient with this first layer because it takes time for the pen to fill in the lines: my machine took about 8 minutes to finish the writing on this layer before it cut.
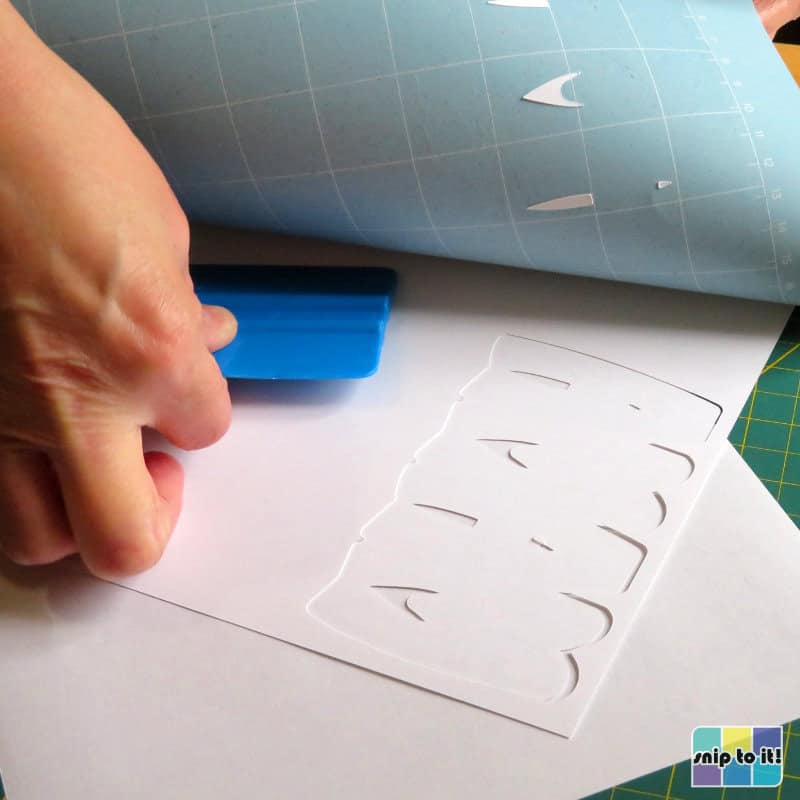
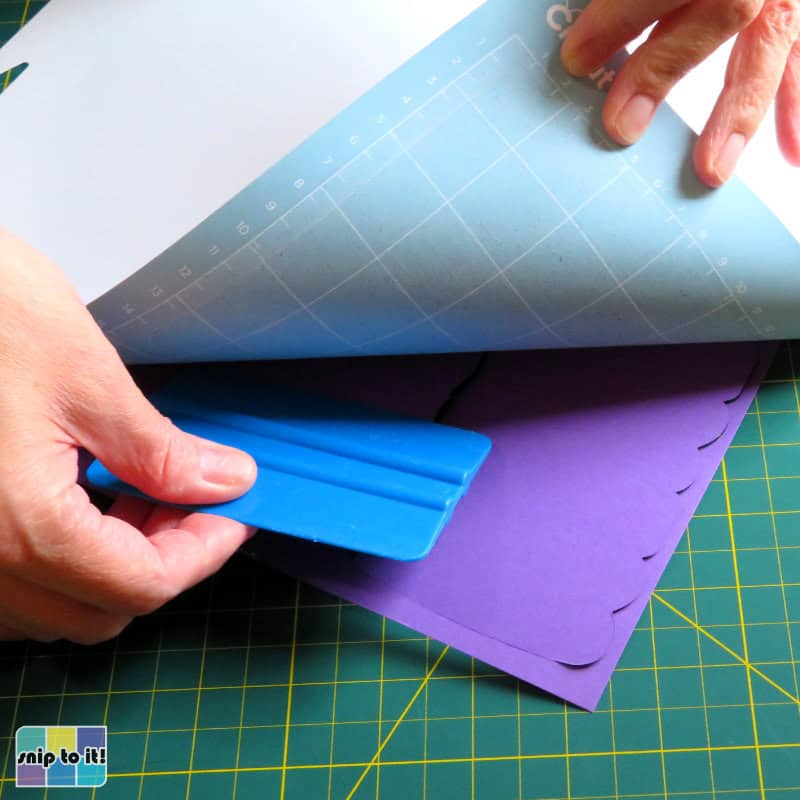
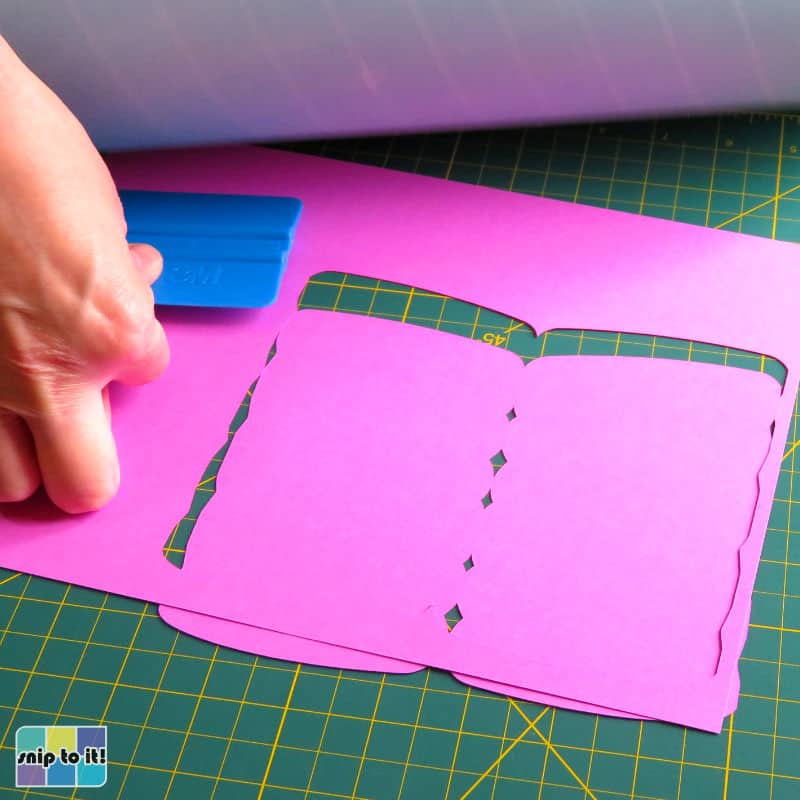
Once your layer is complete, flip your mat over and remove the cardstock from the mat using your squeegee (you might call this tool a scraper).
Be careful with this layer – depending on what type of pen you use, the ink may smudge (this happens a bit with the glitter gel pens).
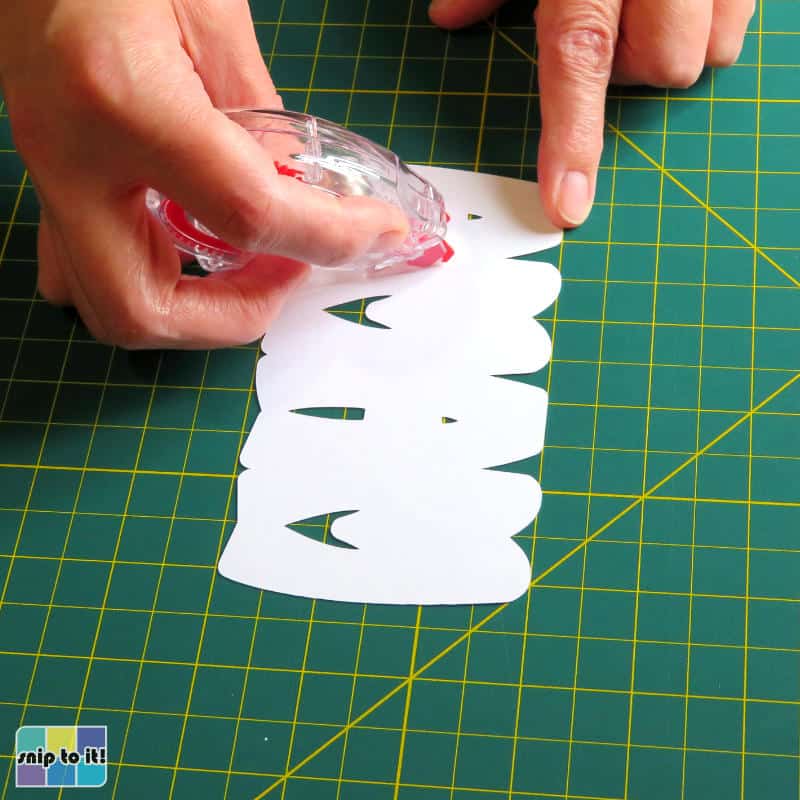
Second/offset layer: cut
Attach your next layer to the mat. This layer is the middle offset.
Set up your machine and cut the offset layer.
Now remove your cardstock from the mat the same way as before.
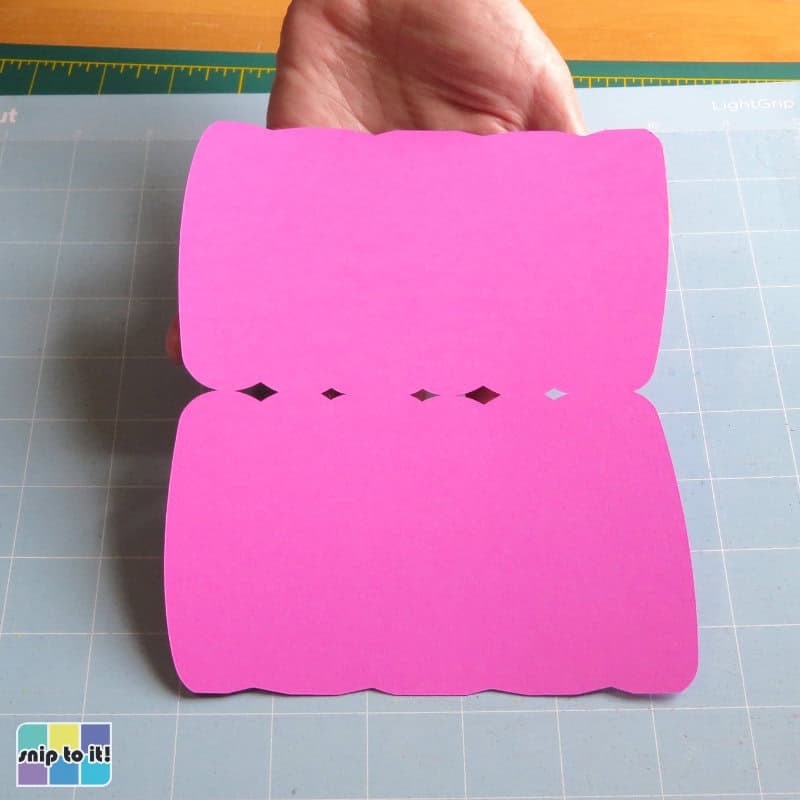
Card base: score and cut
The final layer is the card base, and I’m cutting this out of pink Astrobrights cardstock. You will need to score and cut this layer, but if you don’t have a scoring tool of some kind, you can always just fold the card in half.
Set up your machine with the scoring stylus and blade.
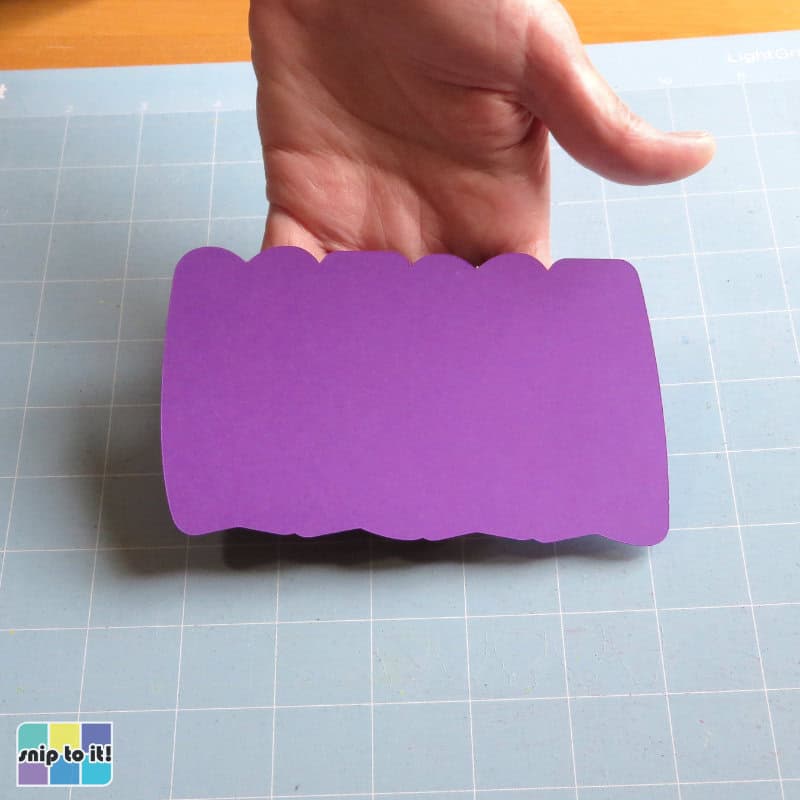
Finally, take the card base off the mat and you’re done cutting!
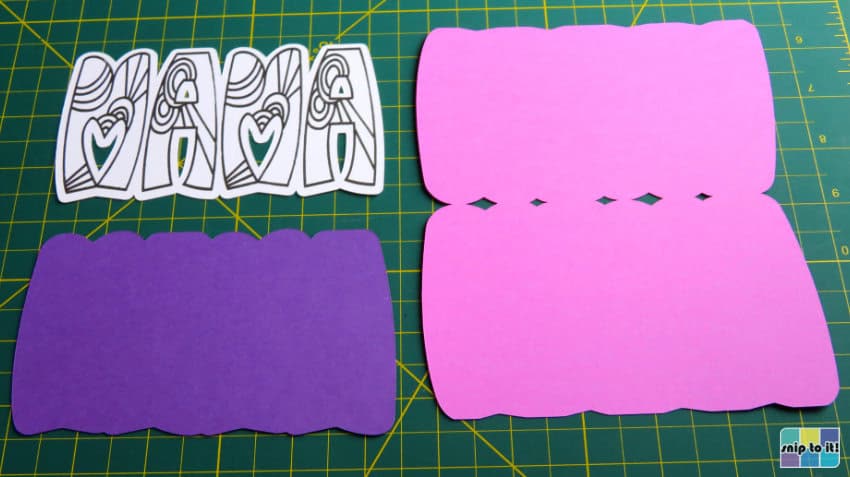
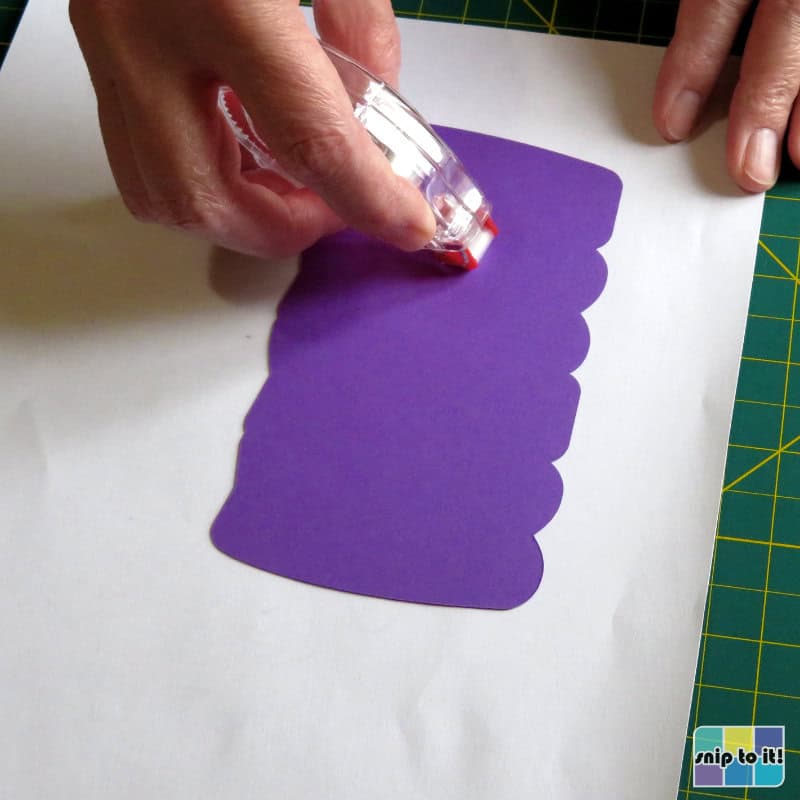
Stick your layers together and you’re done!
Now I have my top white layer, purple offset, and pink card base:
To assemble, just use glue or tape runner to stick the pieces together. After I put the layers together, I like to go over them with a brayer. I recommend placing a piece of copy paper over the top layer while flattening to make sure you don’t smudge the ink.

Fold the card base before you add the top 2 layers of the card. Just fold along the score line, then use your brayer or squeegee to flatten the crease.

Now add the top 2 layers to the card base and you’re done!
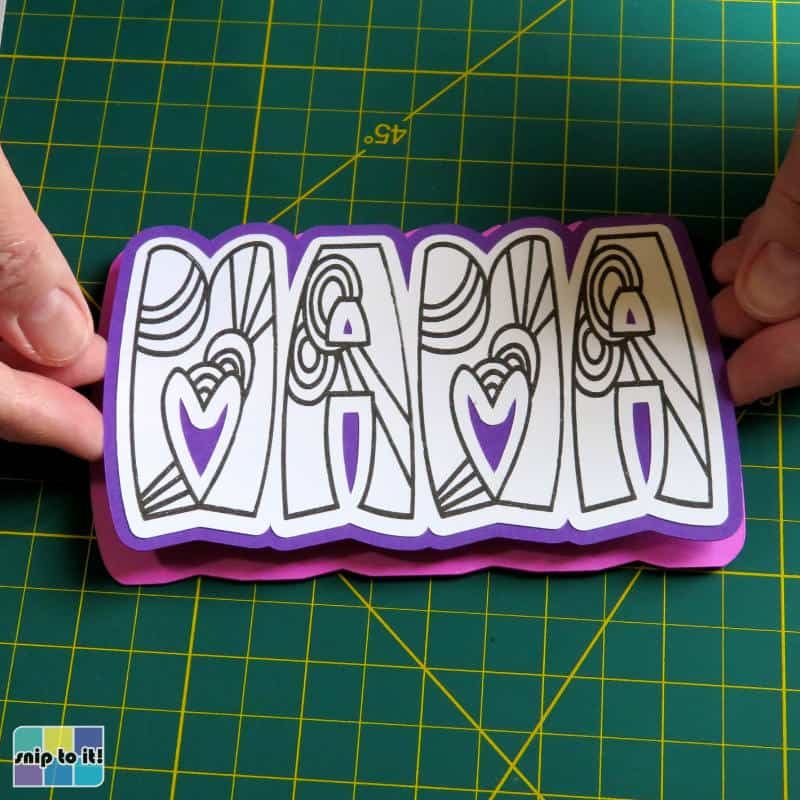

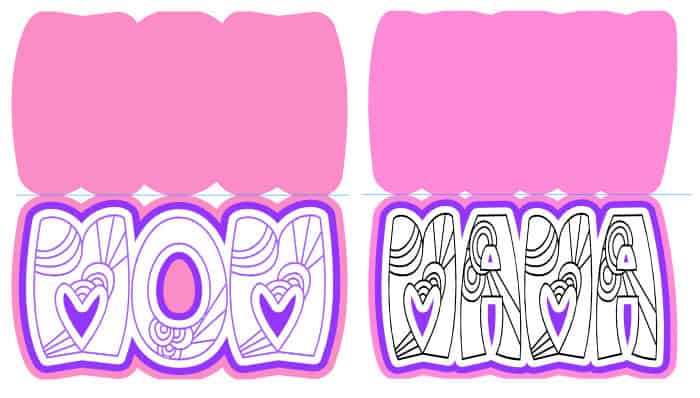
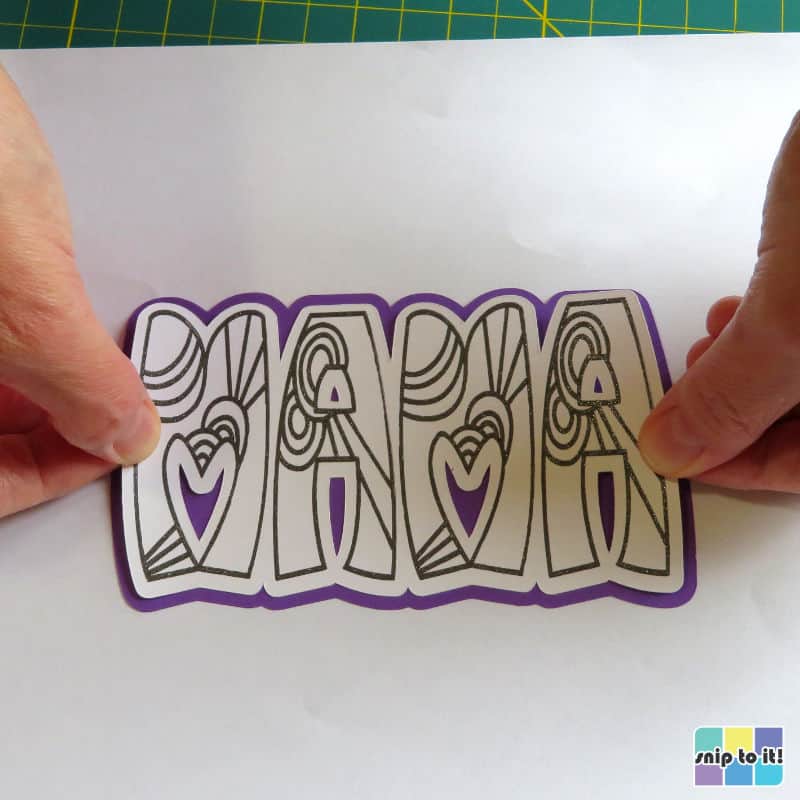
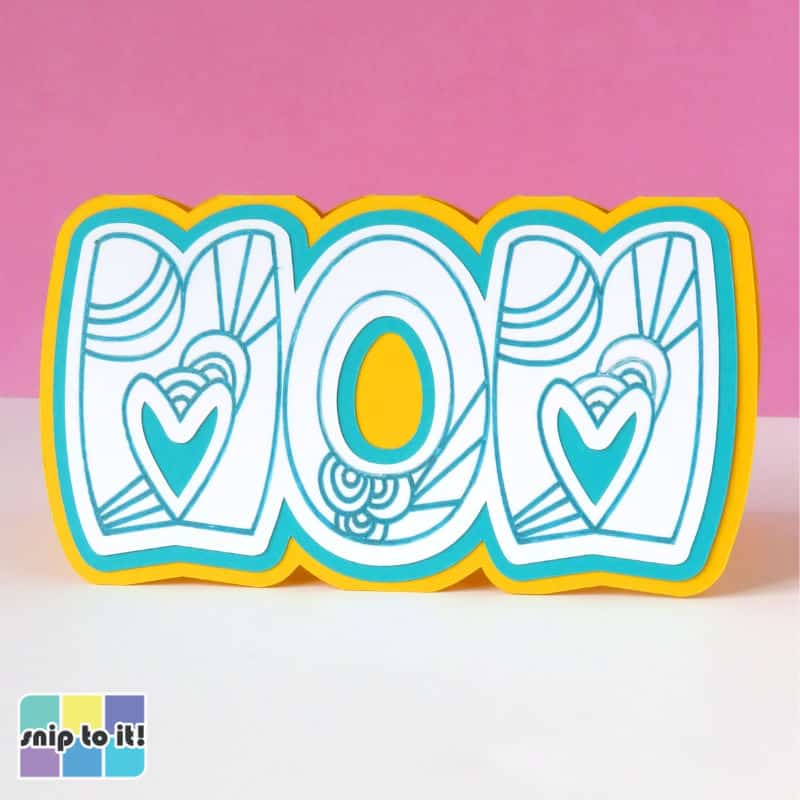
Here are the finished cards!
Each of these fun cutout cards is super simple and fast to make, but they still have that personal touch. Photos don’t capture how cool and shimmery the glitter gel pen turned out.


Before you go, you might like our other Mother’s Day cards with free designs to download:

