
Want Christmas décor that has that Mid-Century look without having to scour thrift shops for the perfect Shiny Brite ornaments? I have a fun, easy, and personalized alternative! I’ve created 3 different Mid-Century monogram ornaments that you can make out of layered cardstock.
These can be used as tree decorations or double as gift tags for a personal touch with a ton of style! You can even make a garland out of them if you want to have the snazziest house in Whoville.
Materials
These ornaments are made of layered cardstock with an acetate window and vinyl decorations. If you like, you can skip the acetate and use thread or baker’s twine to suspend the monogram instead.
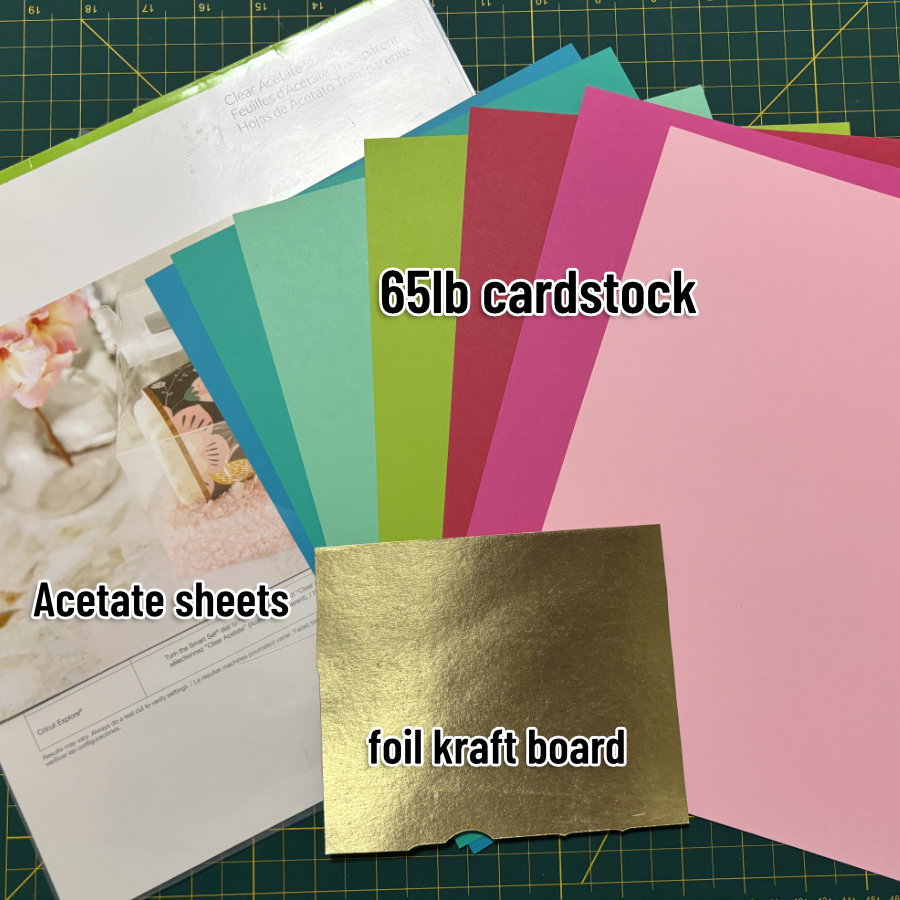
I used 65lb white Astrodesigns cardstock, and Recollections cardstock in various colors from the following packs:
- Brights (turquoise, lime, hot pink)
- Shades of Red (medium red)
- Soda Pop (light & hot pink)
- Mint Hues (medium & light mint)
- Gold Foil
I used the Cricut brand acetate, Adhesive Foil (red & silver), and Shimmer Vinyl (gold).
Become part of the Snip to it community
We really appreciate your interest in our guides and tutorials. If you’d like to get notified when we have new resources, projects and stories available, please consider joining the Snip to It community and sign up for our newsletter below:
File setup in Design Space
Download the files from our Resource Library. There are 3 different ornaments in one compressed (zip) folder, so once you extract/unzip the file, you will see files for each different ornament. This tutorial will show you the construction of ornament 3, but it will be the same process for the other 2 files.
Open a new Design Space Canvas window and go through the steps to upload the SVG to the canvas. Not sure how to do this? Check out our quick guide to adding your own images to Design Space for help.
The designs will be uploaded to the canvas as a Group. Your first step should be to click the Ungroup icon at the top of the Layers panel. (You can also right-click the image with the cursor and select the Ungroup option from the popup menu).
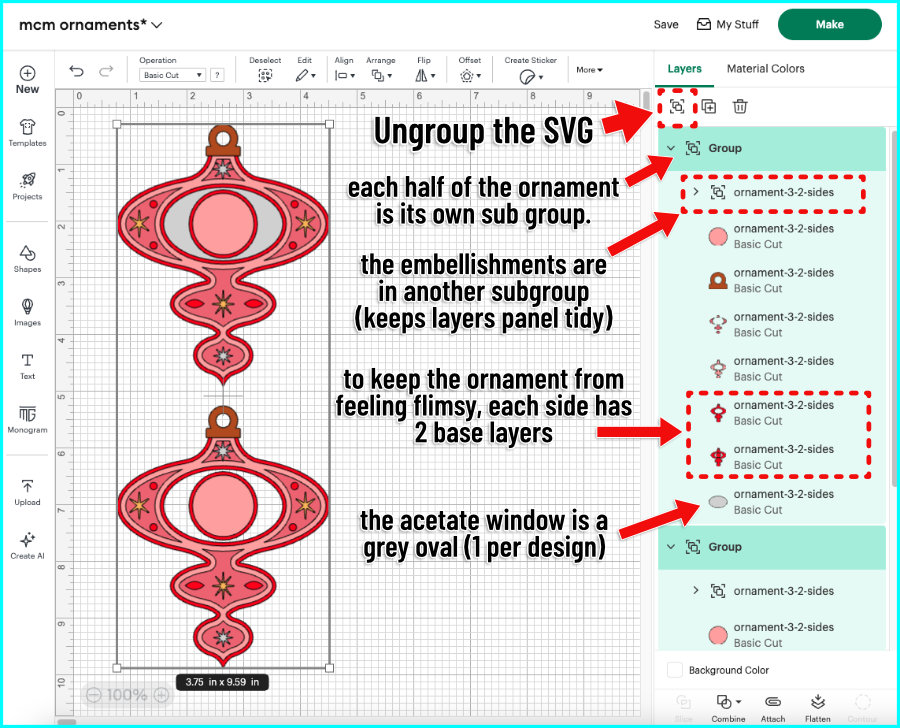
Once you have ungrouped, you’ll see all of the layers in the Layers Panel on the right side of the canvas. A few things to note:
- These ornaments are double-sided, and each side has:
- 2 identical base layers + base circle for under the monogram (red for ornament 3)
- a middle layer + smaller circle for under the monogram (light pink)
- a top layer in pieces (dark pink)
- a gold ornament hanger layer
- stars and other decorations
- The grey oval that you see in the Layers panel and in the top copy of the ornament is the acetate window that is sandwiched between the front and back sides of the ornament
- All of the stars and other small decorative elements are in their own subgroup at the top of the design. They are grouped to reduce visual clutter in the layers panel.
The monogram and any offset layers for it need to be created in Design Space at this time.
Customizing your Monogram
The monogram letter will sit on top of the smaller center circle included with the ornament SVGs. Obviously you’ll want to personalize this yourself.
To add your monogram:
- add a text block to the canvas and type in your initial
- select your font
- size the initial to match the circle. For ornament 3, I’ve sized the initial to 0.75″ (for these ornaments, I’ve sized the initial between 0.75″ and 1″)
- add an offset (optional) – I’ve added an offset of 0.075″
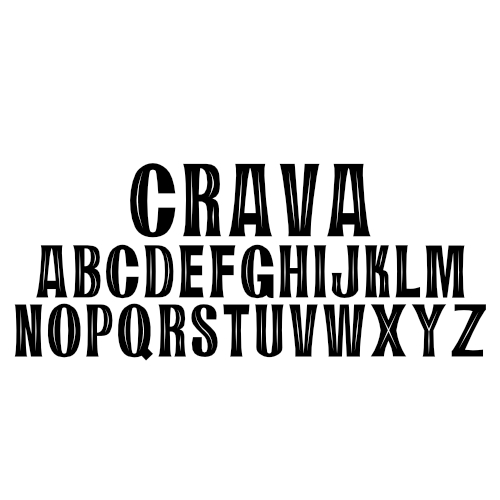
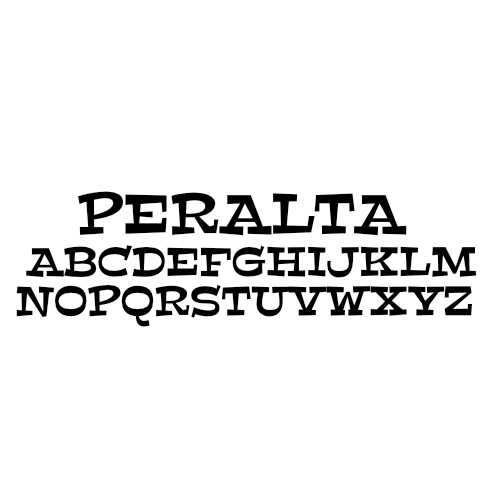
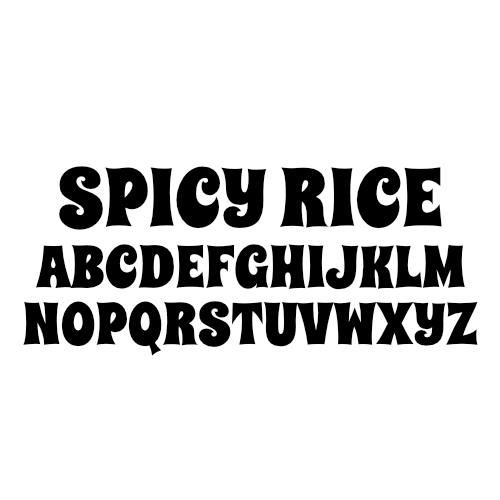
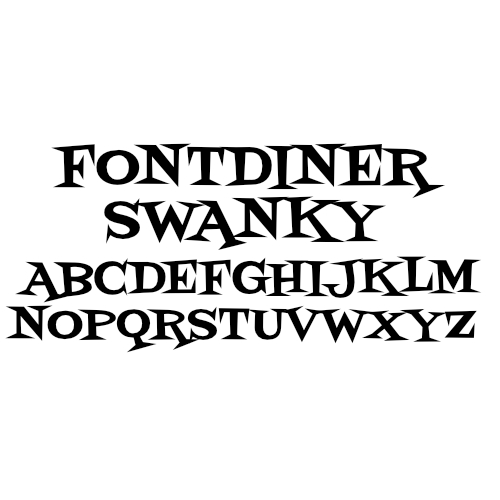
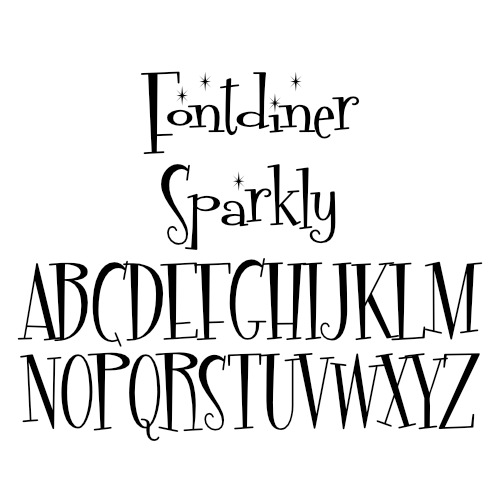
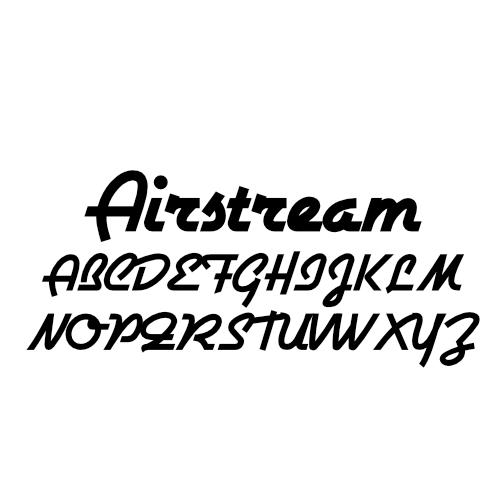
There are so many great mid-century fonts to choose from for your monograms, but we thought we would suggest a few of our (free!) favorites that cut well out of cardstock or vinyl. For this tutorial, I chose Crava for all monograms.
While you’re at it, feel free to style that monogram however you like. Back it with an Offset, or create a dropshadow. Cut it out of your favorite glitter vinyl or cut a few extra stars to embellish it. Use a chunky font or a stylish script. Mix and match different styles on each side. There’s no wrong way to do this.
Cut your ornament
Cutting these layers should be very straightforward no matter what machine you are using. I’m cutting all my cardstock on the Medium Cardstock setting, and the acetate using the Acetate setting. Likewise, I cut the vinyl elements using the cut settings for those materials (Shimmer Vinyl, Adhesive Foil). I’m using a Maker3.

Ornament assembly
I’m going to assemble the front and back halves of my ornament, then sandwich the acetate window in between them. I’m using Bearly Art glue for most of the assembly, but I’m using tape runner to attach the acetate panel.
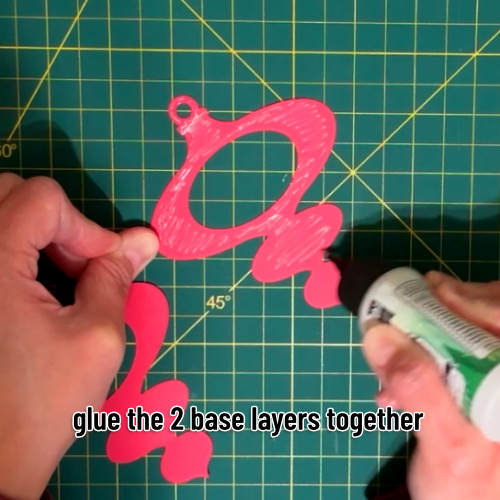
First, glue the 2 identical base layers together, making sure the hole at the top of the ornament aligns perfectly. Repeat for the other half of the ornament.
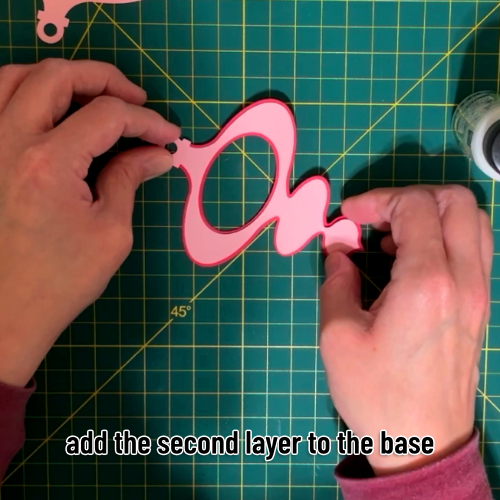
Next, glue the middle layer on top of the base layers. Again, make sure the top hole for the ornament aligns between all layers. Repeat for the other half of the ornament.
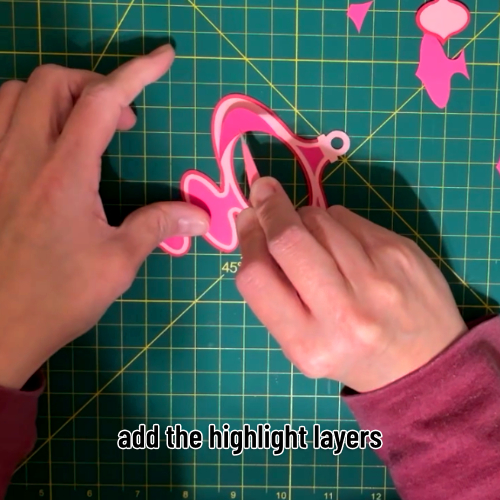
Next, glue on the top layer/highlight pieces. Glue the gold foil cardstock piece at the top of the ornament, making sure the holes are aligned. Repeat for the other half of the ornament. This will complete the main structure for both halves of the ornament.
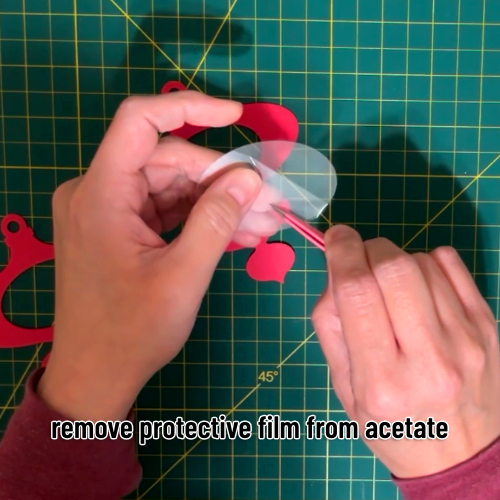
Cricut acetate sheets have a protective film covering both sides of the sheet. Peel off the protective film on the acetate oval.
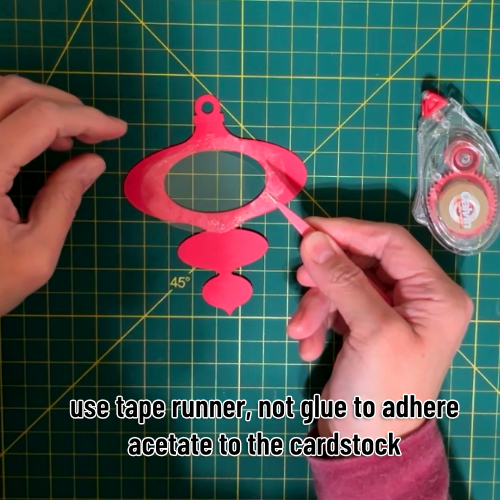
Now, flip one of the ornament halves over and apply tape runner/double sided tape on the back, around the hole in the middle of the ornament. Lay the acetate oval down so it covers the entire hole.
Once the acetate is down, use tape runner or double-sided tape to apply adhesive on the back of the acetate oval, around the edges (to stick it to the other half of the ornament).
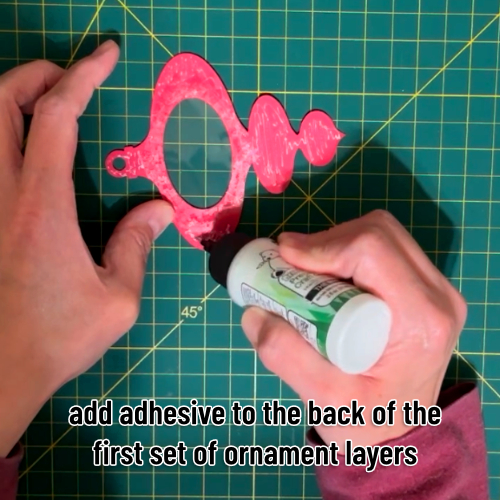
Apply glue to the rest of the ornament half.
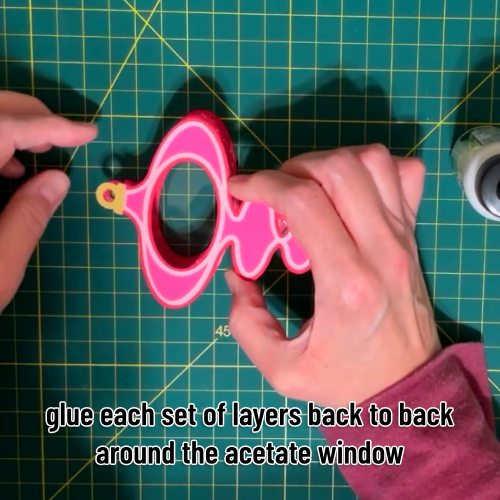
Place the 2 halves of the ornament together, making sure to align the holes at the top. You will now have a double-sided ornament with an acetate window.
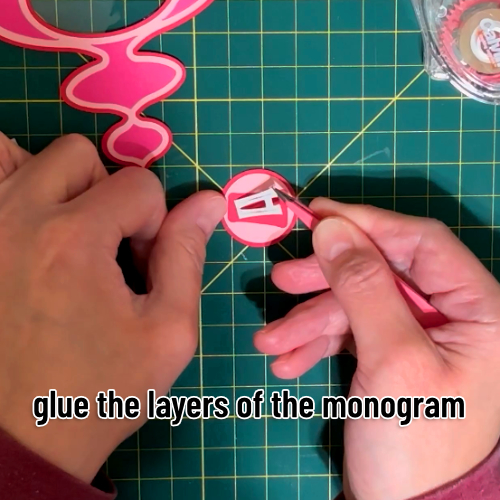
Now glue the 2 circles together and add the monogram and any offset or drop shadow. Repeat for the other side.
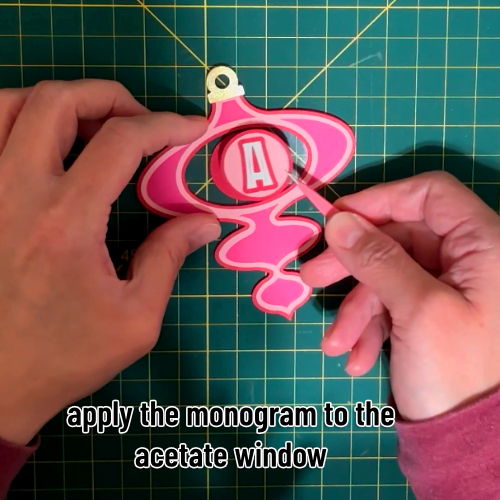
Add tape runner to the back of the monogram circle and place it in the center of the acetate window. Repeat for the other side, making sure to align the 2 monogram circles, front and back.
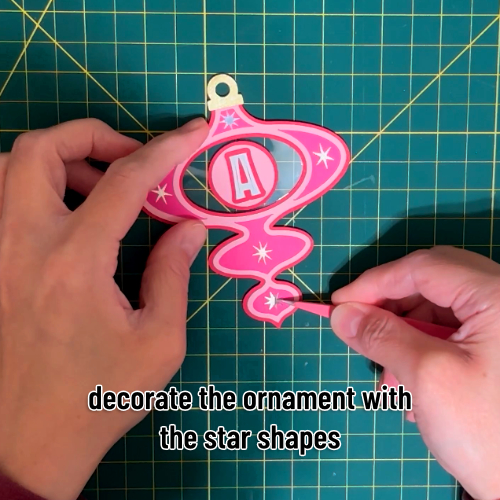
Now finish off both sides of the ornament, adding your vinyl decorations. These are tiny and the vinyl I’m using is sturdy, so I’m just placing the embellishments with my tweezers. Easy!
Now you’re all done! My favorite way to add a hanger to ornaments is with red and white baker’s twine or a satin ribbon. Finish the ornaments however you like and add whatever hanger you prefer.
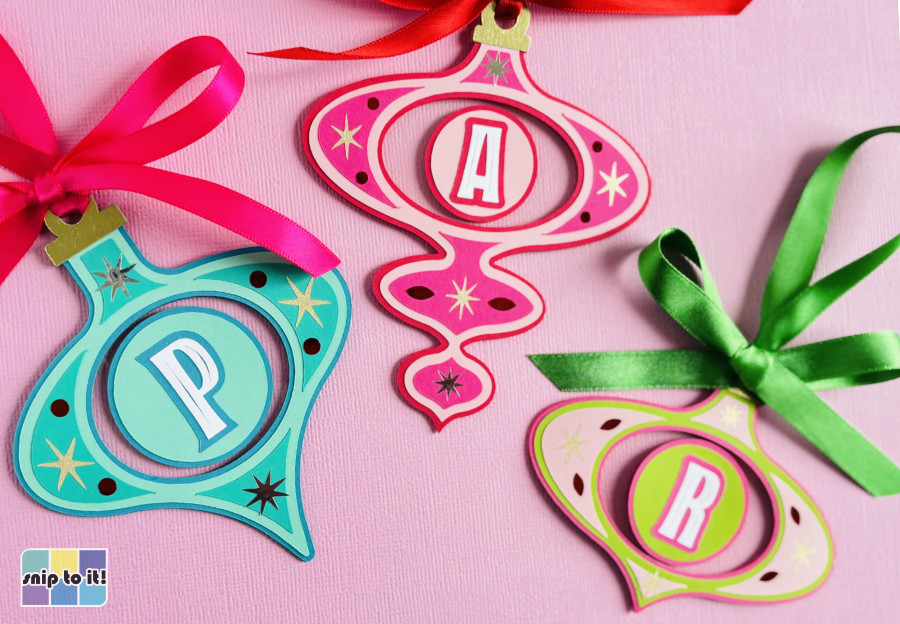
Hang from the tree, create a garland or banner or use these as gift tags. You’ve just added a boatload of swinging mid-century style to the season!
Before you go…
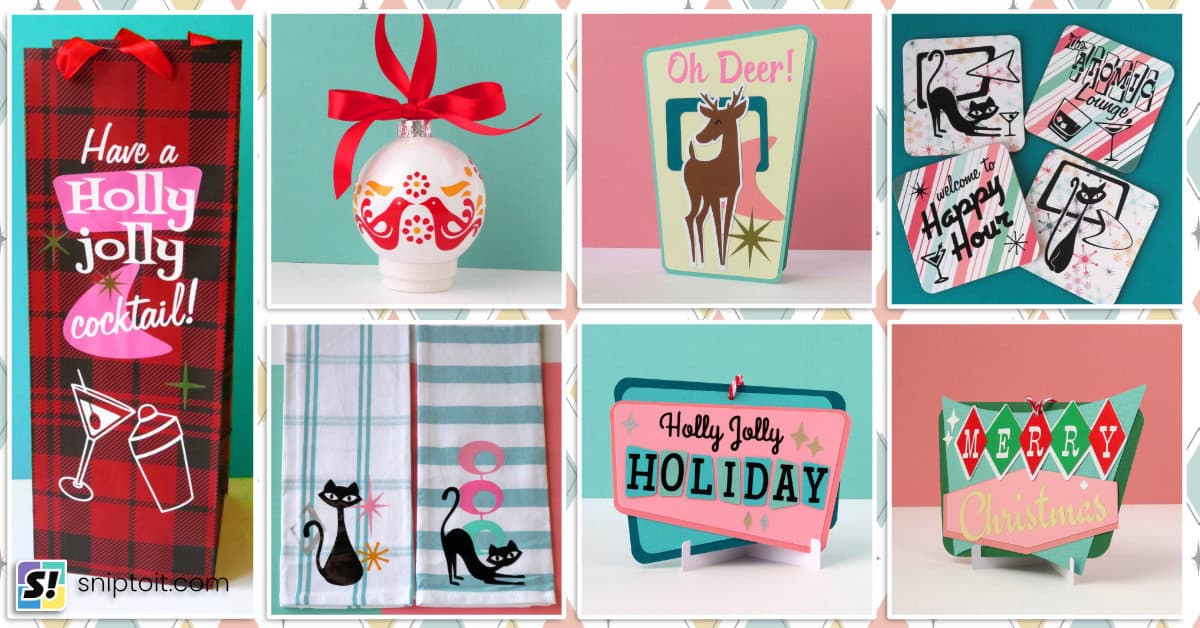
Check out our other Mid Century holiday fun!

I’d like to follow your blog
Hi Karen, thanks for the vote of confidence! I updated this post to include a newsletter signup form so you can get updated on all of our new tutorials and project files – Ian