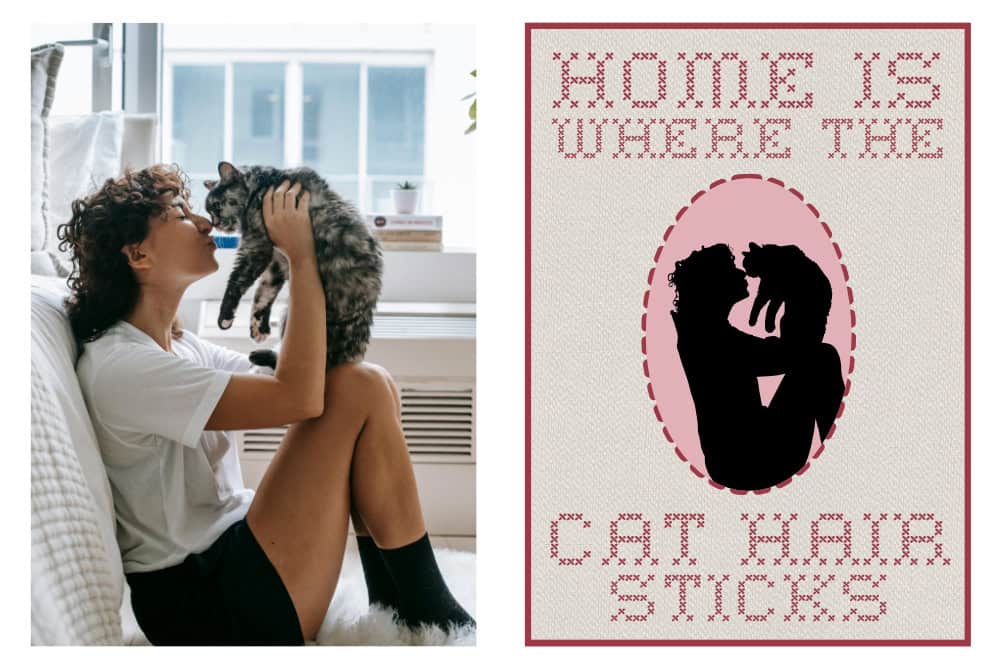
Turning a photo into a silhouette is a super easy way to personalize cards or shadowboxes. It’s a perfect gift for weddings, anniversaries, Mother’s Day, Father’s Day, or any other occasion.
In this quick tutorial, I will show you how to create silhouette SVGs from photos in less than a minute, using FREE tools. No downloading software, no passwords, no accounts necessary, because we’re using Photopea!
You can use this technique to create SVGs for ANY cutting machine, no Cricut necessary.
1. Open photopea.com
Photopea.com is my favorite image editor for Cricut projects, and it’s one of those great websites you can’t quite believe is so useful yet free. Photopea is a web-based alternative to Adobe Photoshop that lets you edit and convert images without downloads or subscriptions.
I’ve already used this tool to show you how to convert photos into multi-layer SVG files, and how to create wavy stacked text designs. Let’s add another skill to our repertoire!
For this tutorial, you need a photo that you want to convert to a silhouette vector. If you don’t have one, you can follow along using this stock photo (right click to save).

Open photopea.com to get started.
2. Open your image
On the Photopea home page, you’ll see a few prompts to help you get started. You can browse your computer for your image file, or you can directly drag and drop it onto the Photopea home page.

3. Select the subject of the photo
Open the Select menu and click “Subject“. Photopea will then analyse the image and auto-select the subject of the photo, putting a dashed line around the people.
This works best when the photo has a clearly defined subject and a fairly neutral background.

This option is available for free, but non-subscribers will have to watch a short ad if they use it more than once per day.
4. Convert the selection to a work path
Next, click the Rectangle Select tool in the left-hand toolbar (second option from the top).

Right-click on the photo and choose “Make Work Path” from the popup menu.

The dashed line around the selected subjects will now change to a blue outline. The change from a dashed line to a blue line means that Photopea now sees that selection as a vector path, not pixels.
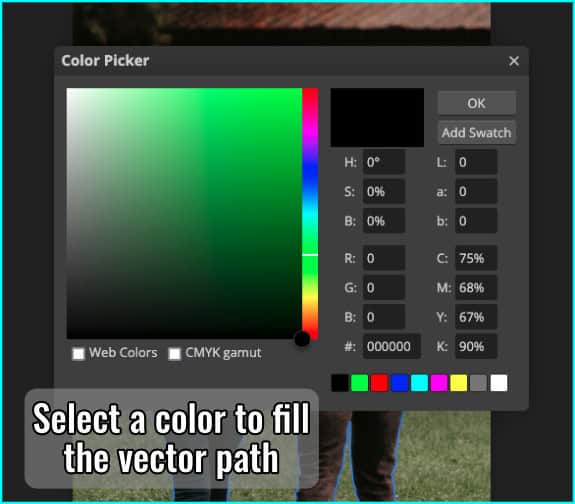
5. Fill the vector path
On the right hand side of your screen, there is a Layers panel that will show you a small thumbnail of your image. If you are a Cricut user, this will seem similar to the Layers panel in Design Space.
There is a row of icons at the bottom of the Layers panel. Select the half-filled circle icon for “New Adjustment Layer” and then click “Color Fill” from the top of the popup menu list.

Photopea will open a Color Picker window, and you will choose a color for your silhouette. You can either specify a color value or choose a basic color from the pre-selections. I am choosing basic black.
Now Photopea will create a new layer containing only the color-filled vector path (the silhouette).
The original photo is still there on the layer below. You can either delete the original layer or click the eye icon to make it invisible.
Once you delete the original photo layer, all that remains is your silhouette of the photo subject!

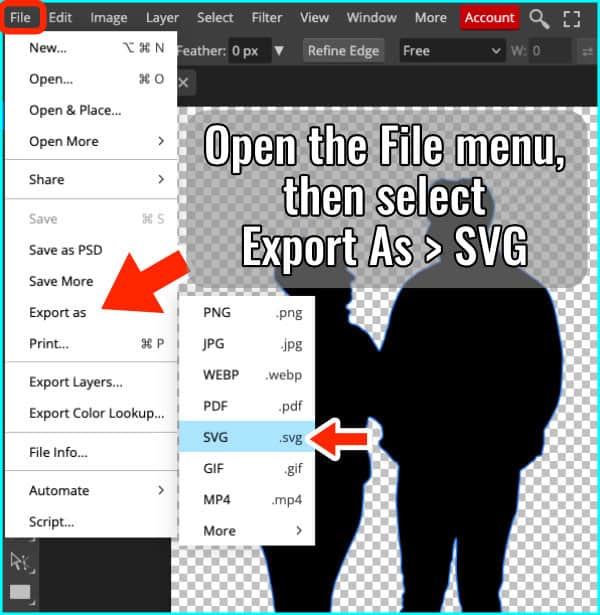
6. Export as SVG
In the top menu bar, open the File menu and choose Export As > SVG. The default settings should be OK, and you can just click the Save button to save the SVG on your computer (or tablet, or phone).

And that’s it! In less than a minute, you’ve turned a photo into a silhouette SVG that can be used in Design Space, Silhouette Studio, or any other cutting software of your choice!
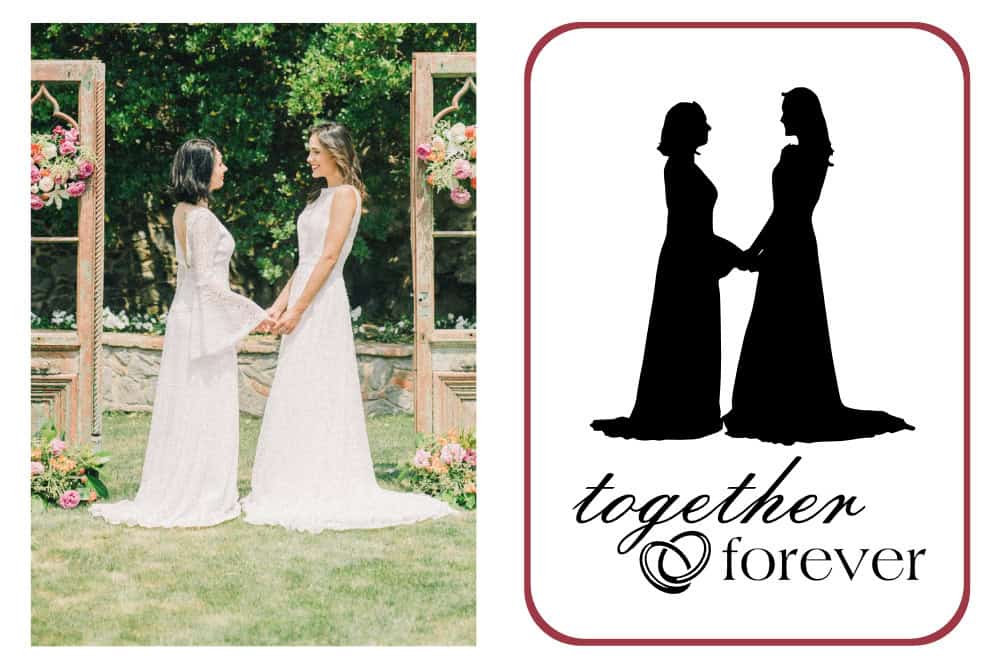
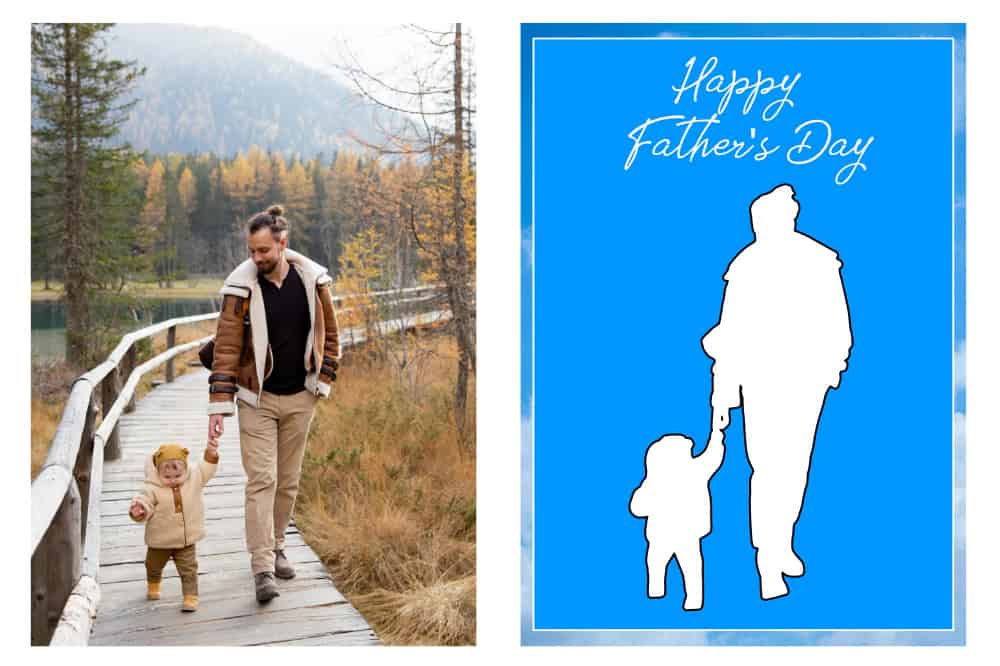
Project examples (slideshow)
This photo to silhouette technique is such a fast and easy way to create meaningful projects unique to the recipients. Click through the slideshow to see some example cards I designed for many different occasions: