Conquer Cricut Design Space with tutorials that help you understand the software, not just follow a series of steps. Learn the tools, workflows, and design logic behind better Cricut projects so updates feel easy, troubleshooting makes sense, and creating stays fun!
Design Space should be a gateway to crafting, not a barrier…there’s a better way to learn to use it!
Jump to section:
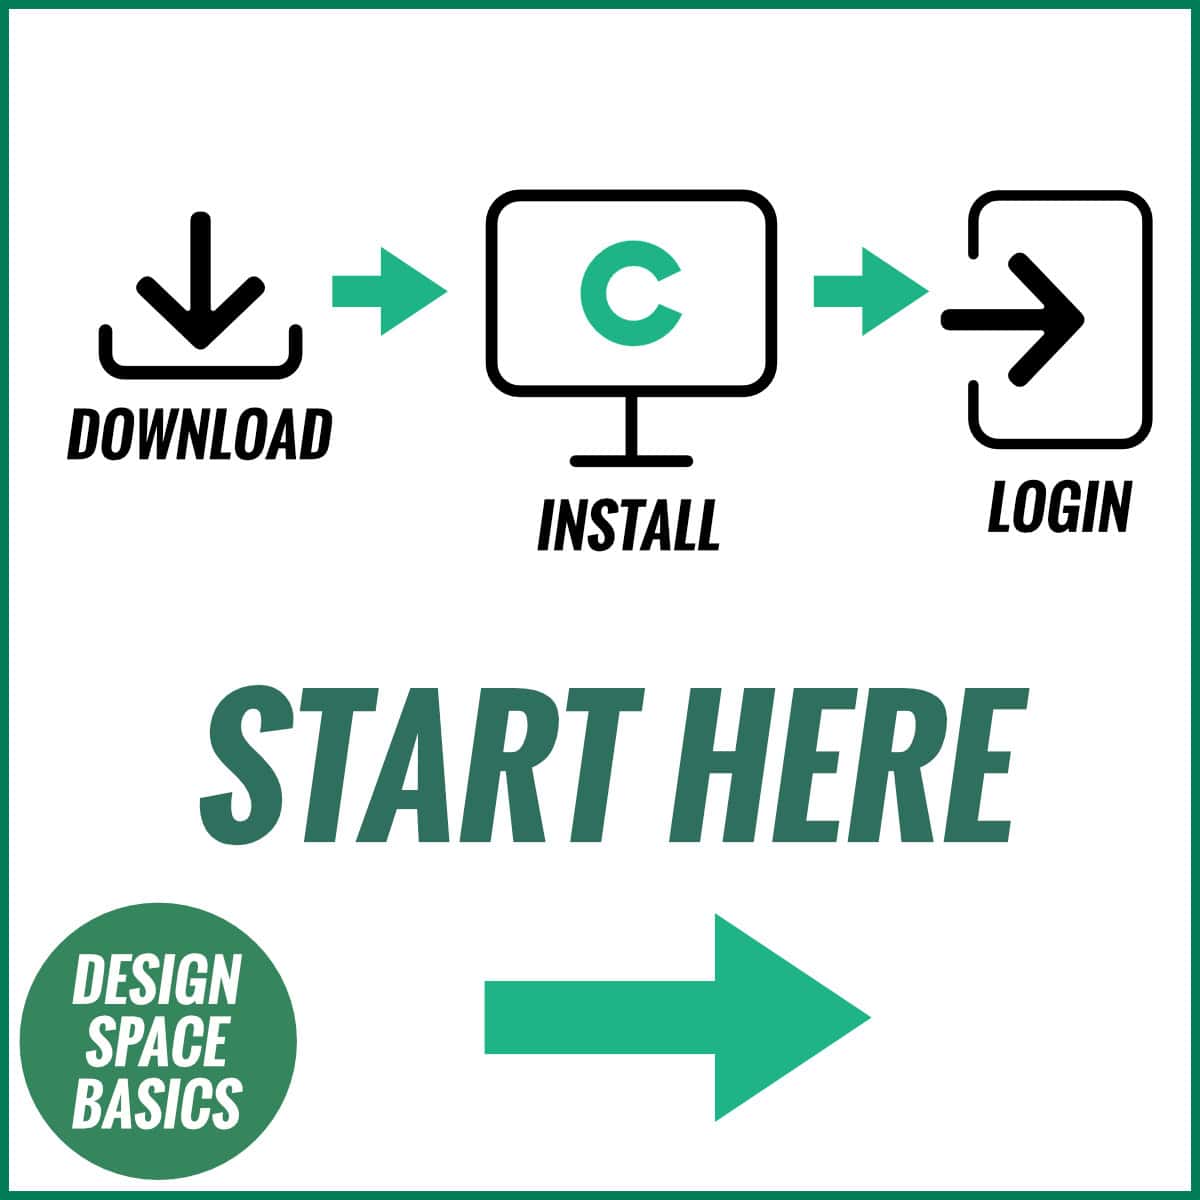
Start Here: Design Space 101
New to Cricut Design Space? Or are you an occasional crafter and can’t find what you need after a Design Space update?
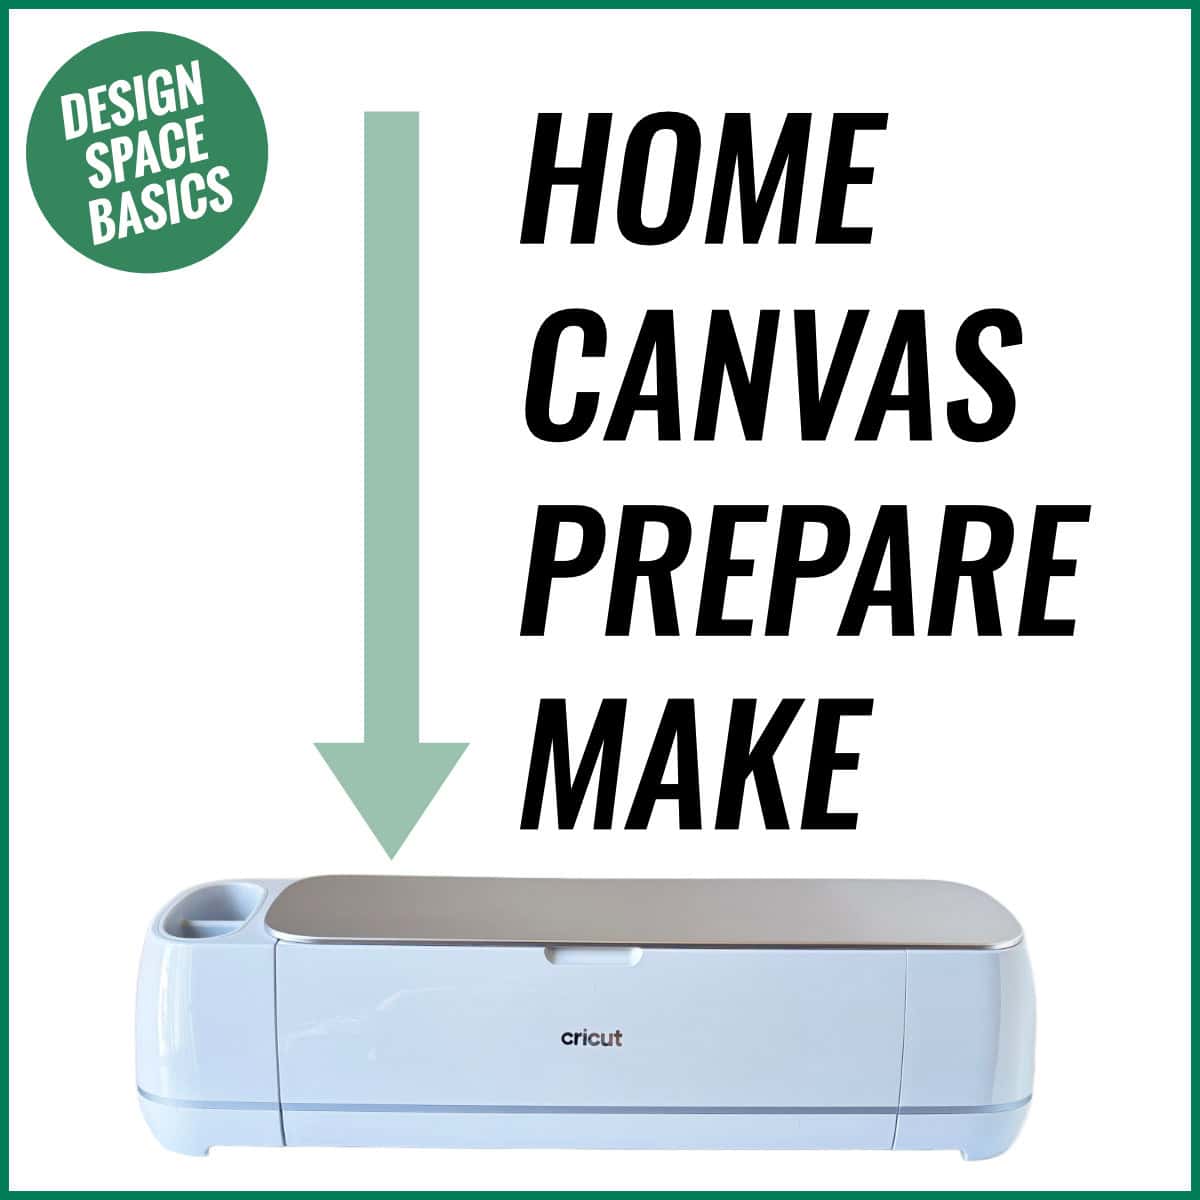
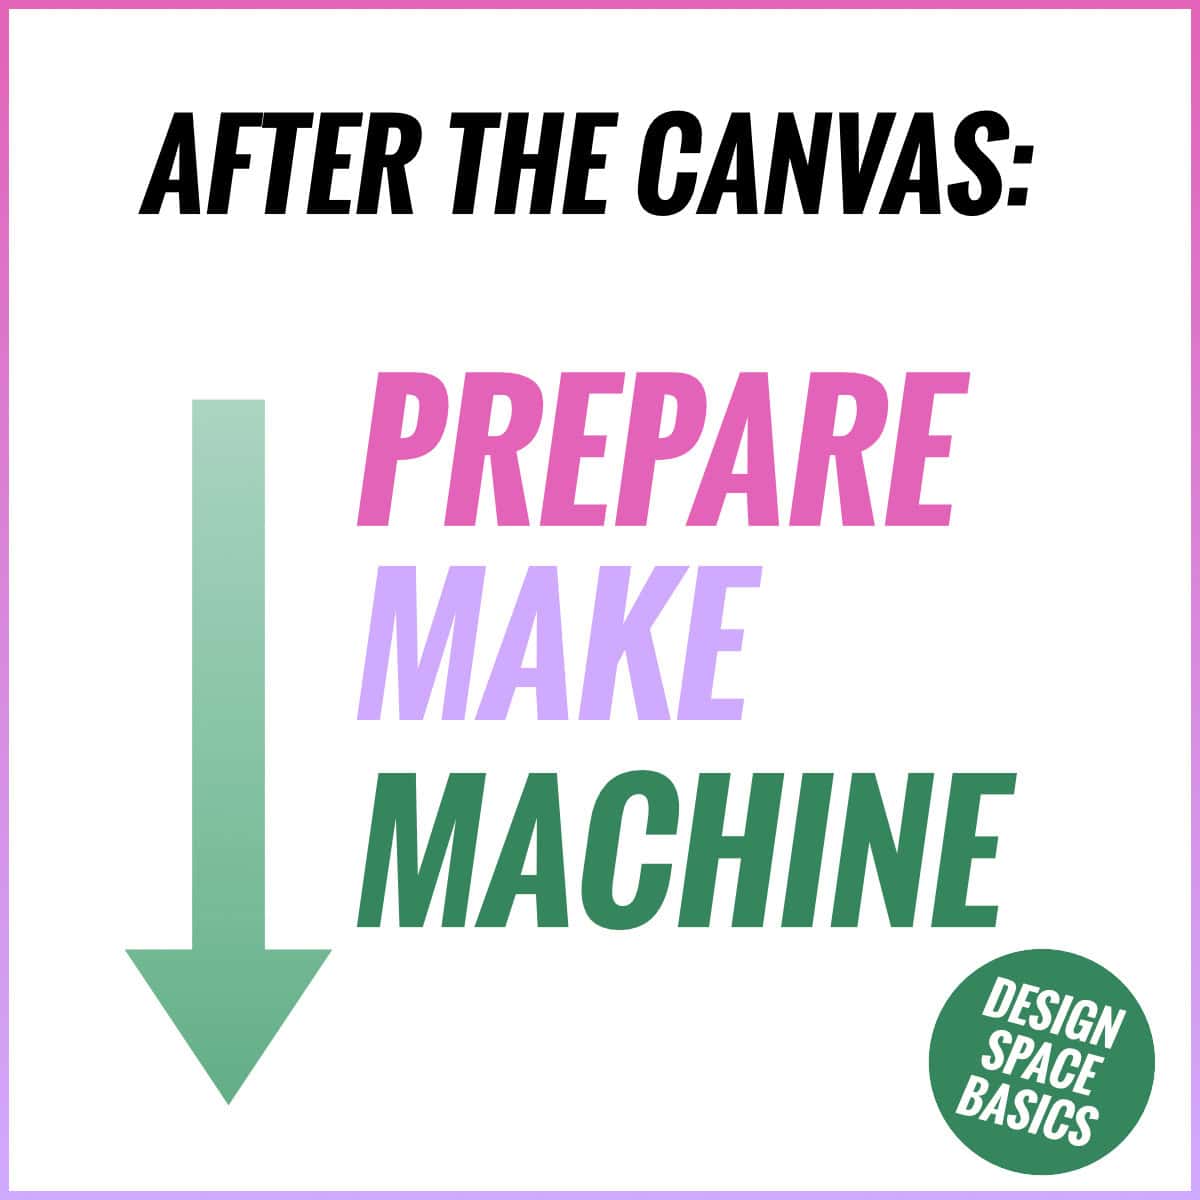
Start with the fundamentals: the Home Page, Canvas, Prepare and Make screens. Learn how each project flows, how to use the core tools and where to find them, and the skills that make every project easier. Browse beginner tutorials, setup help, and essential how-tos.
Design Space Beginner Series
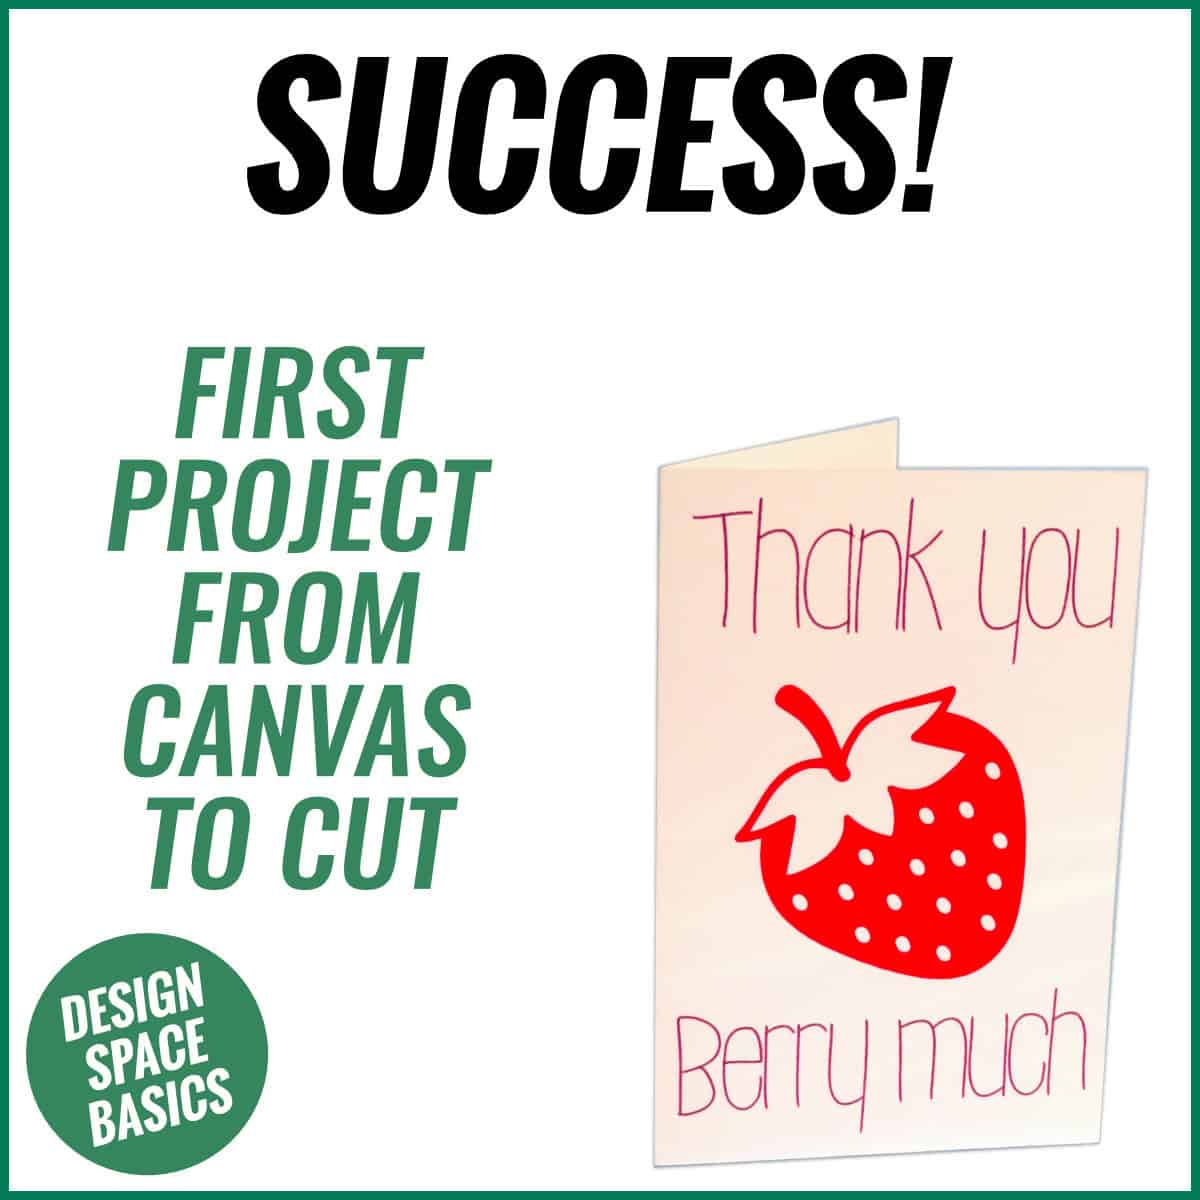
This is the series that teaches you the key Design Space mindset. Once you understand how Design Space works and where to look for specific tools, you will never be confused by an update again.
Design Space Setup, Files & Troubleshooting
Learn the basics of Design Space software setup and the file types you will use as part of your projects.


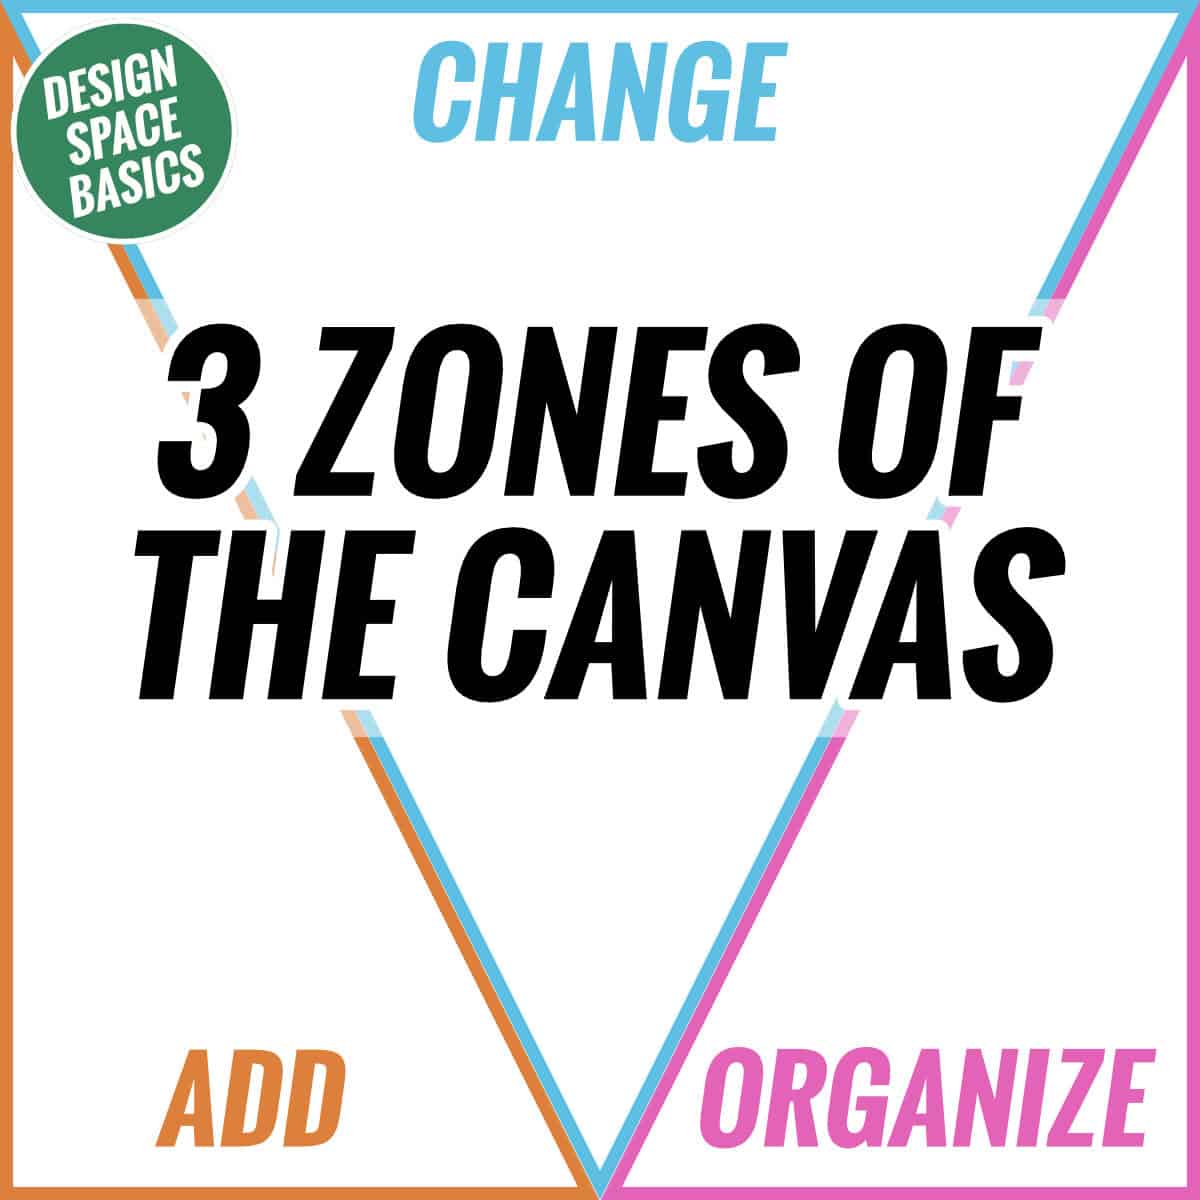
Design Space Canvas Tools & Techniques
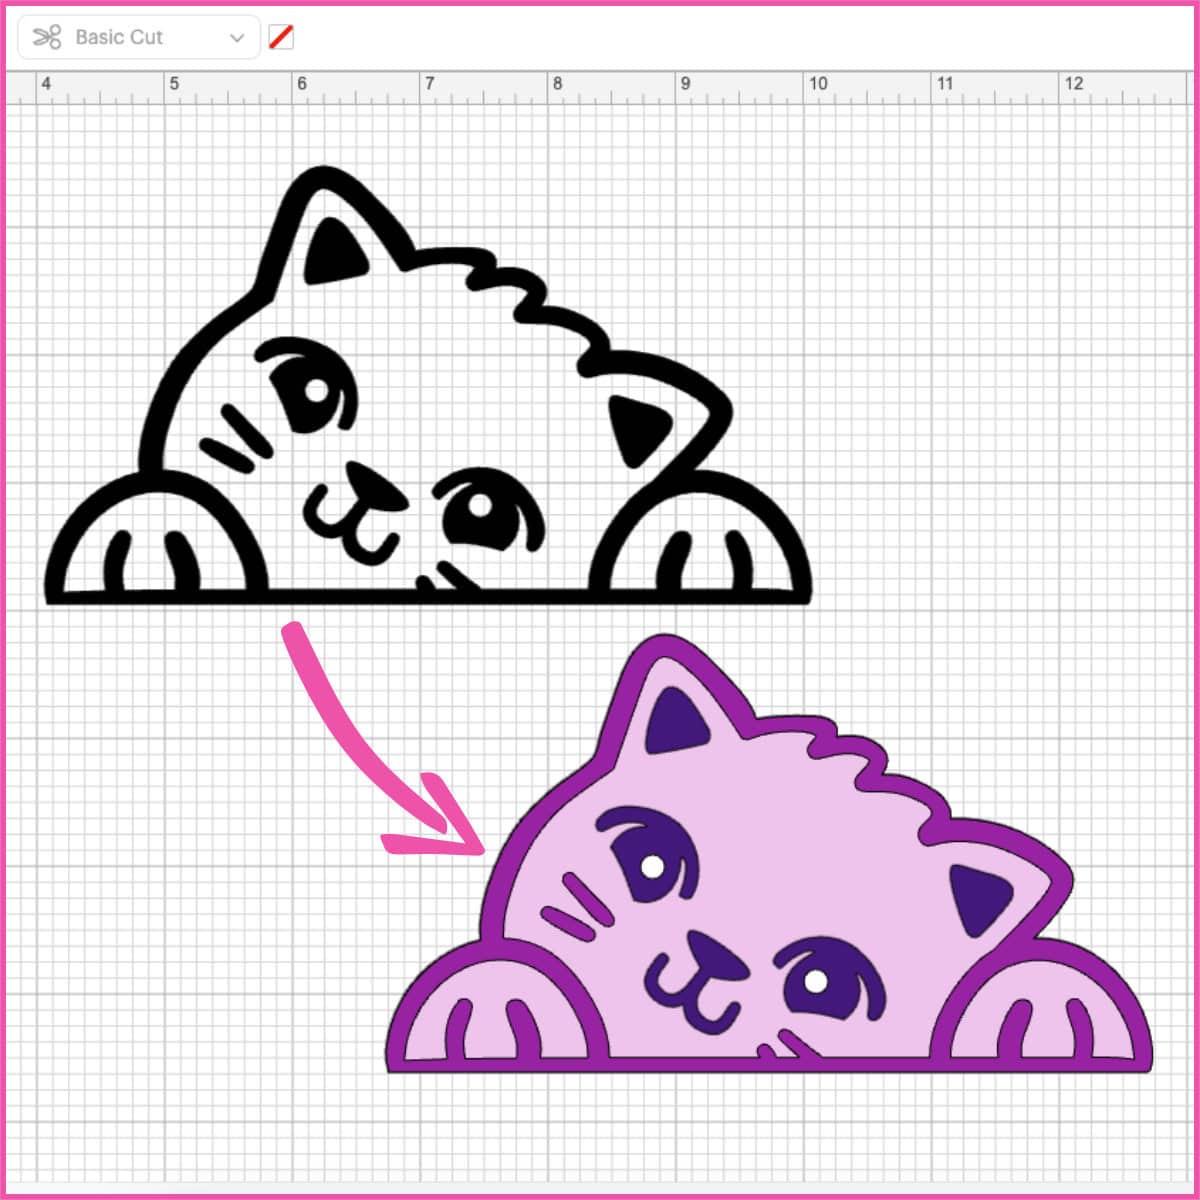
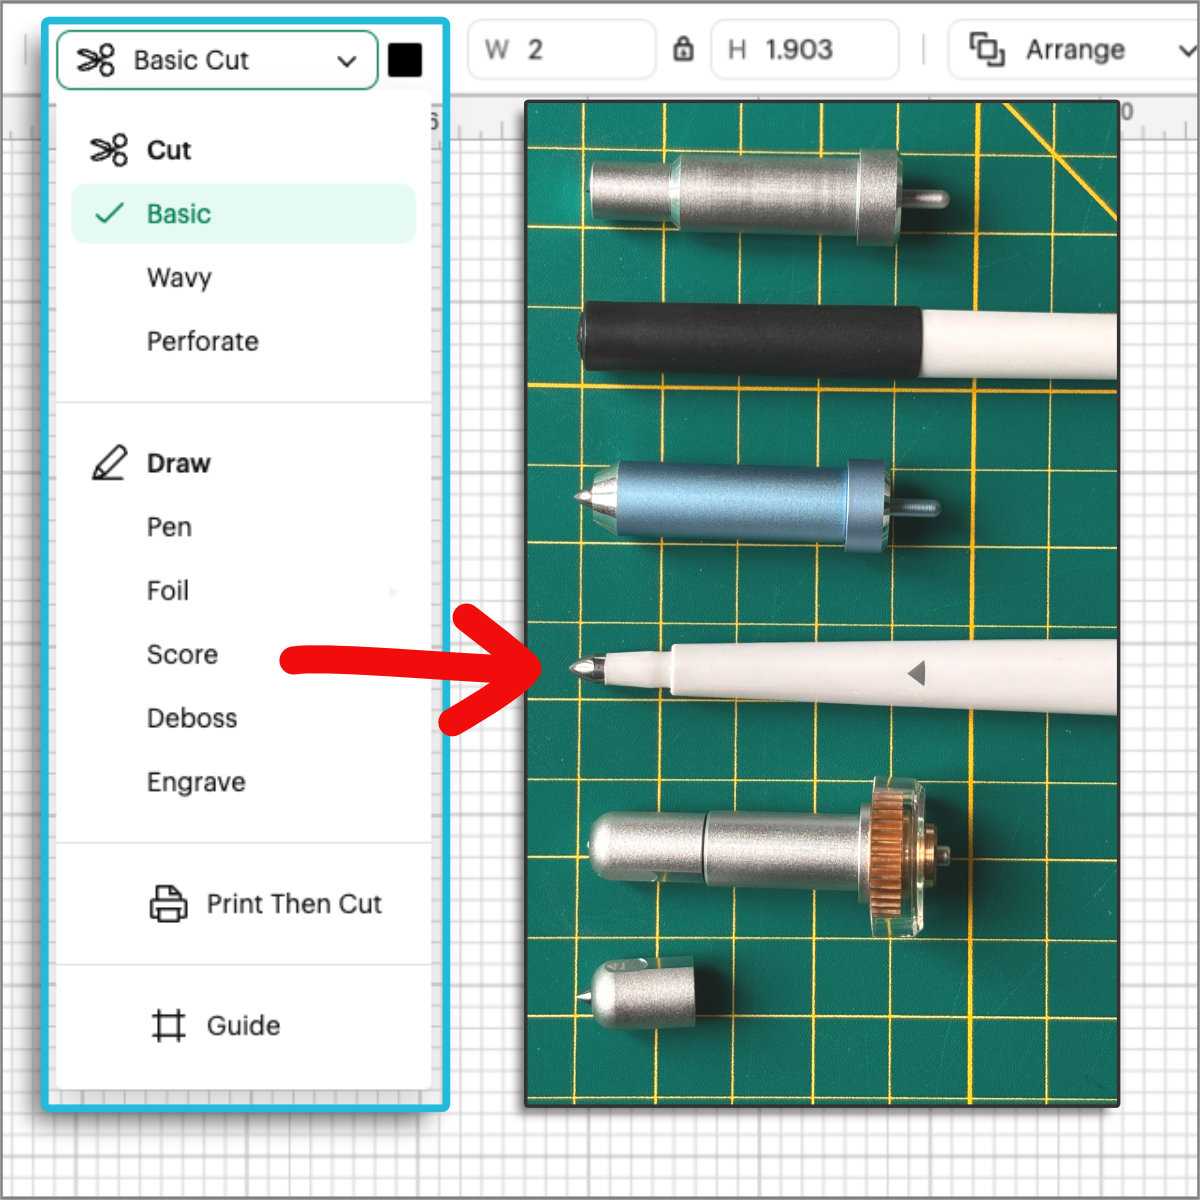
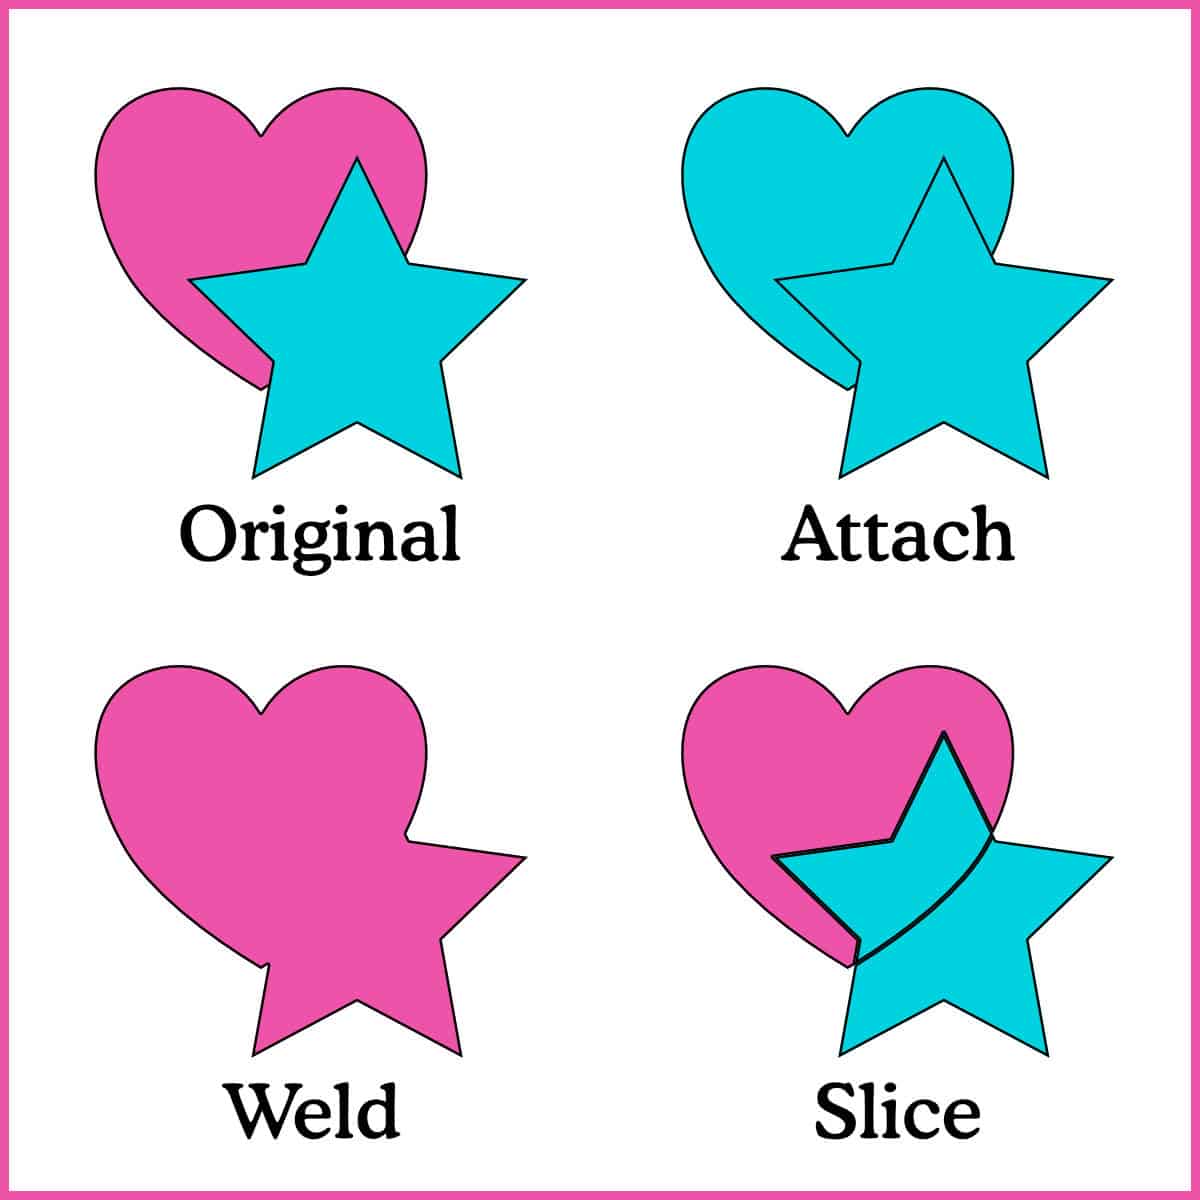
Master the Canvas tools to design and plan your projects. Learn what tools like Attach, Contour, Weld, and Slice do, when to use them, and how to make them work together.


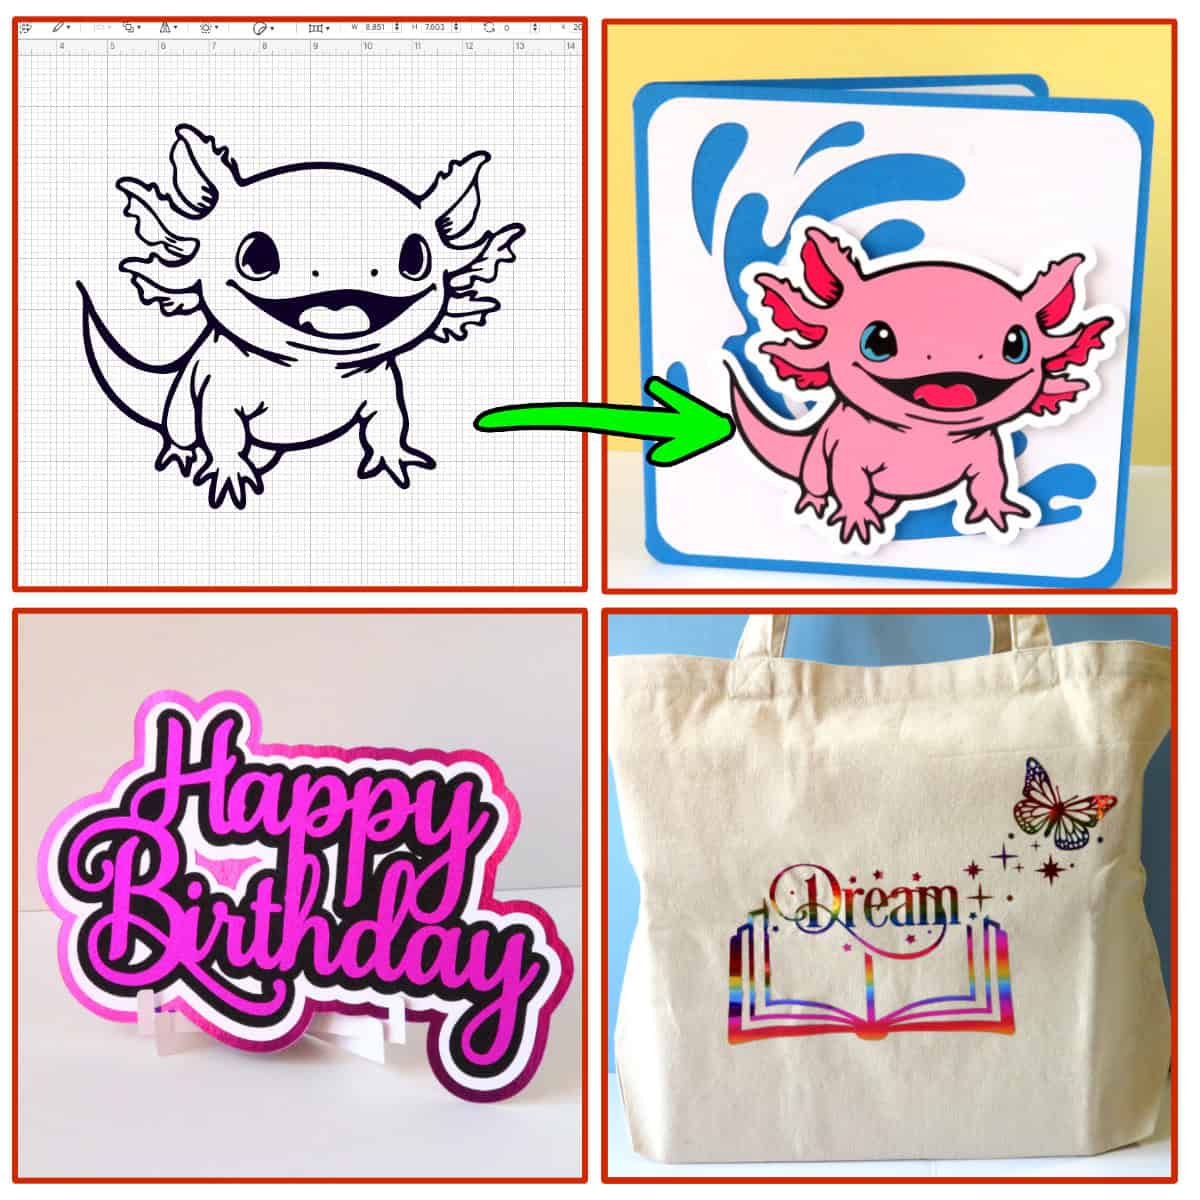
Print Then Cut: Setup, Projects & Troubleshooting
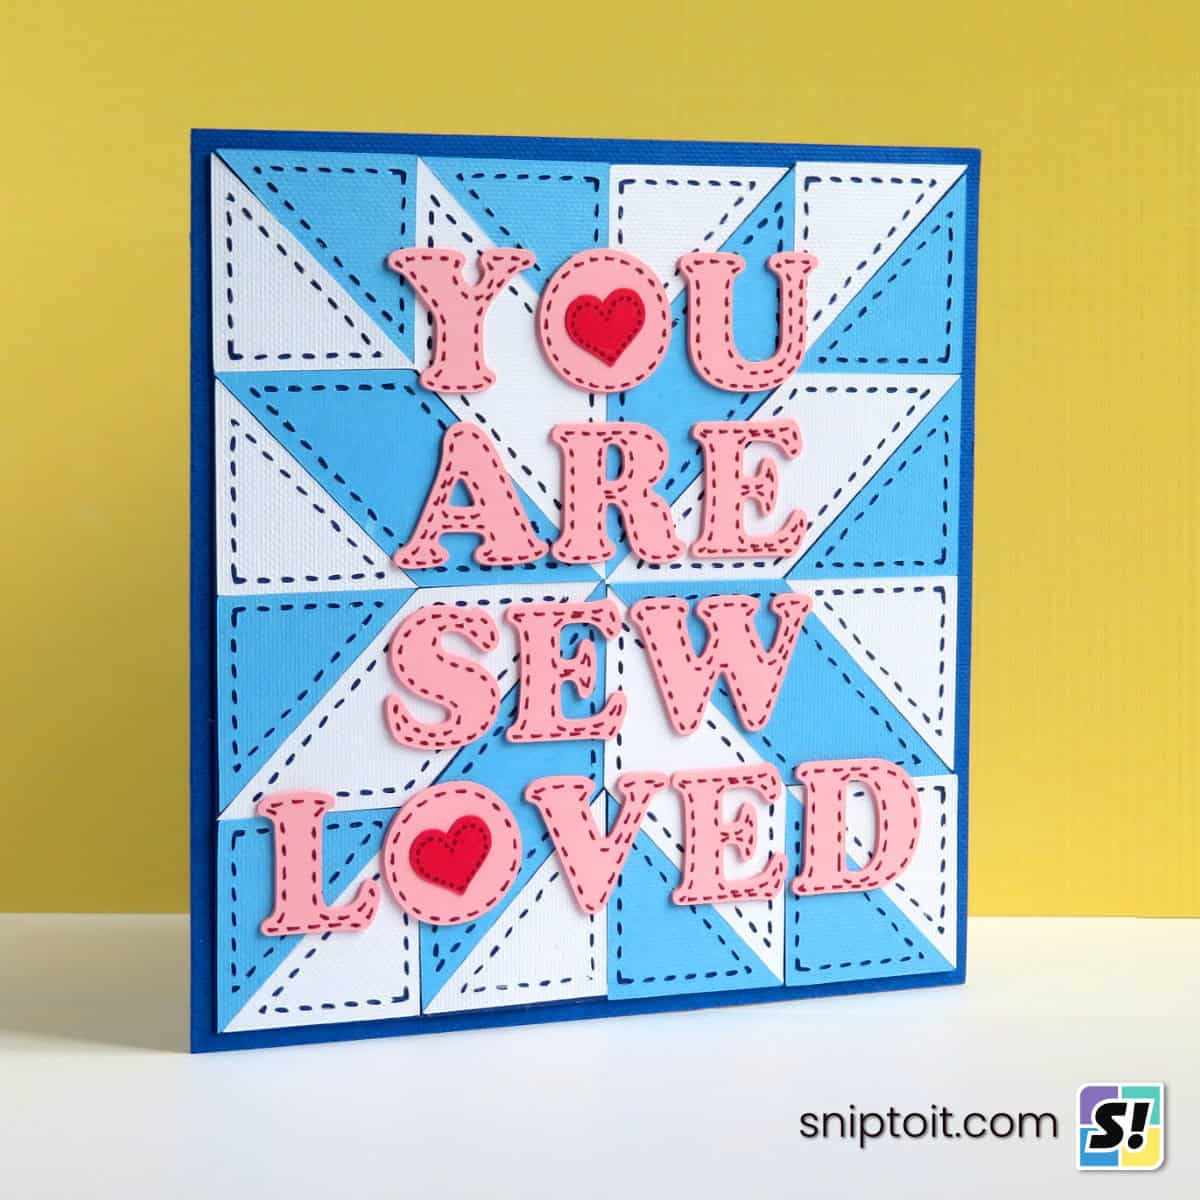
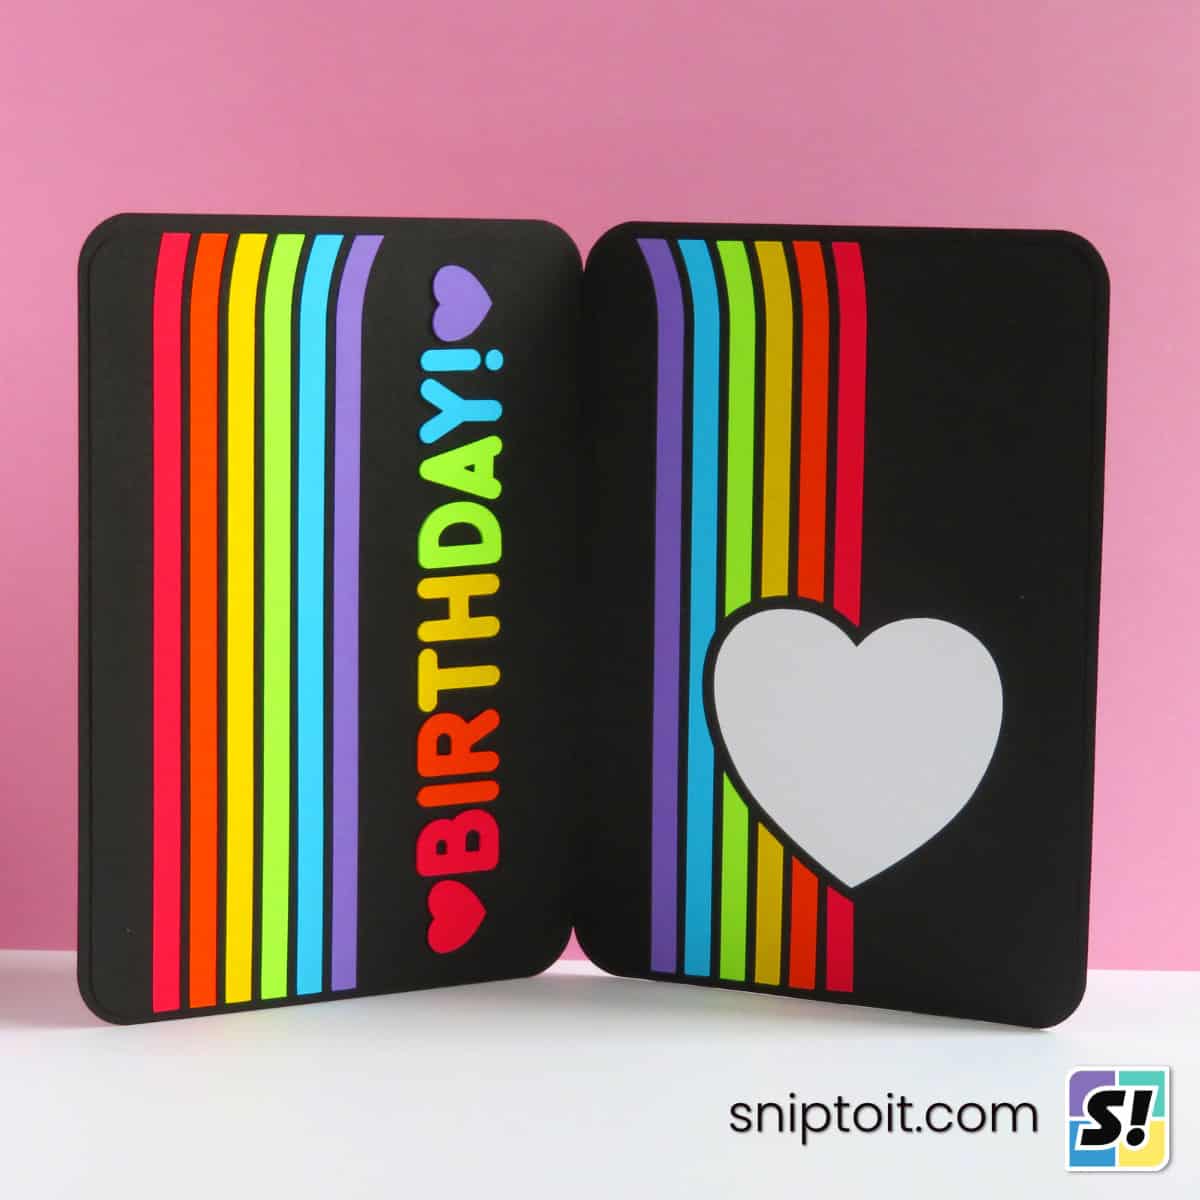
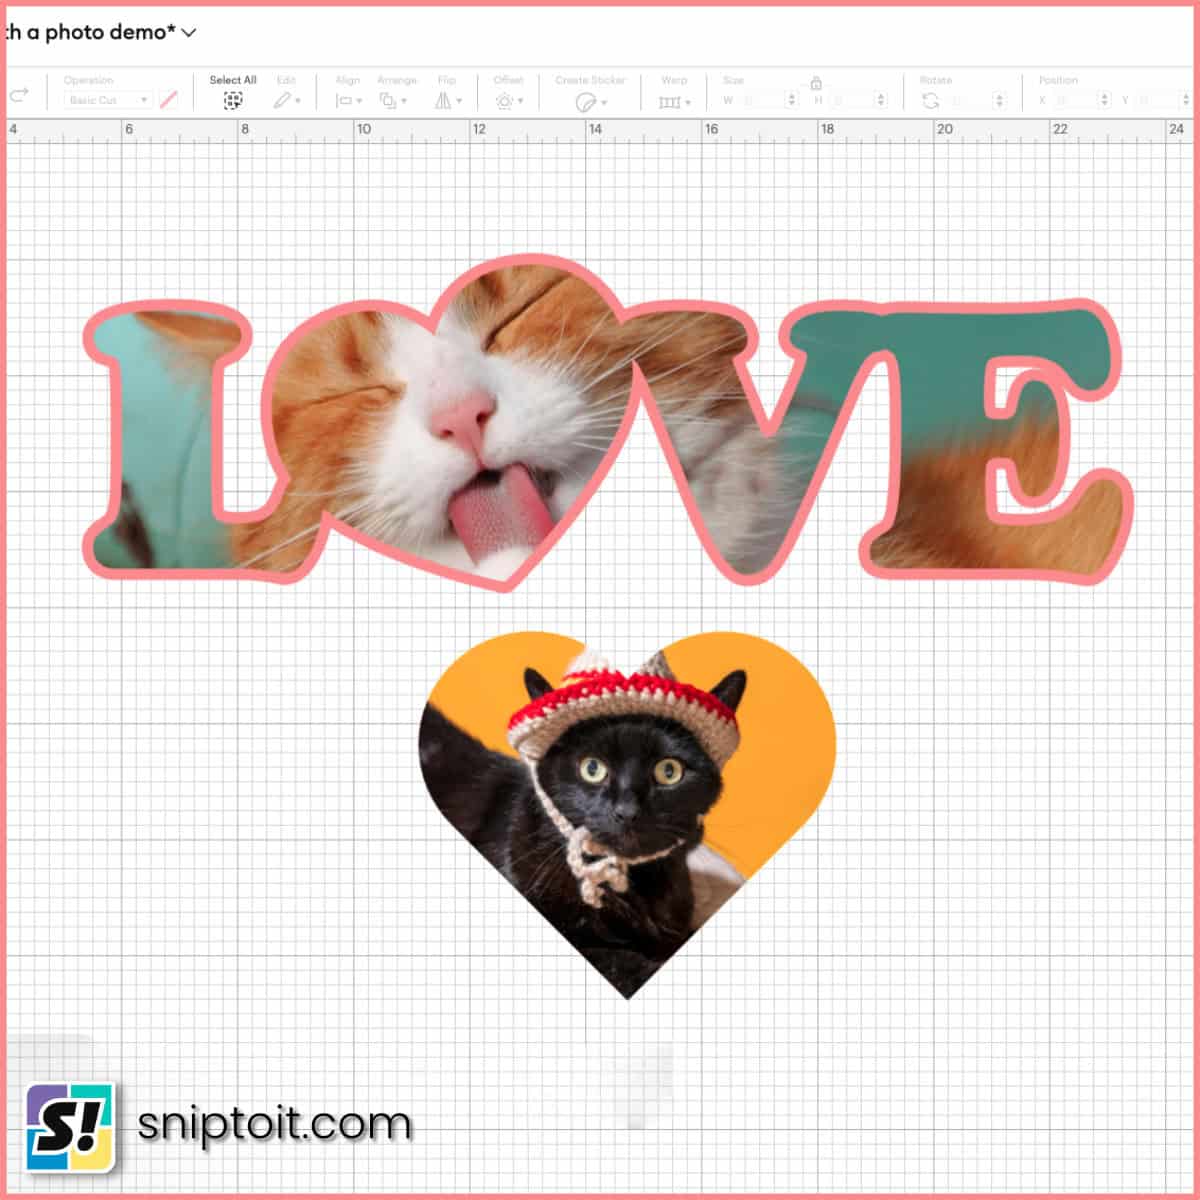
Every new model of Cricut machine, including the tiny Joy 2, can now do Print Then Cut. Avoid common pitfalls and make your own stickers and labels like a pro! We’ll even show you how to do 2-sided Print Then Cut for custom cards, tags, bookmarks and more.


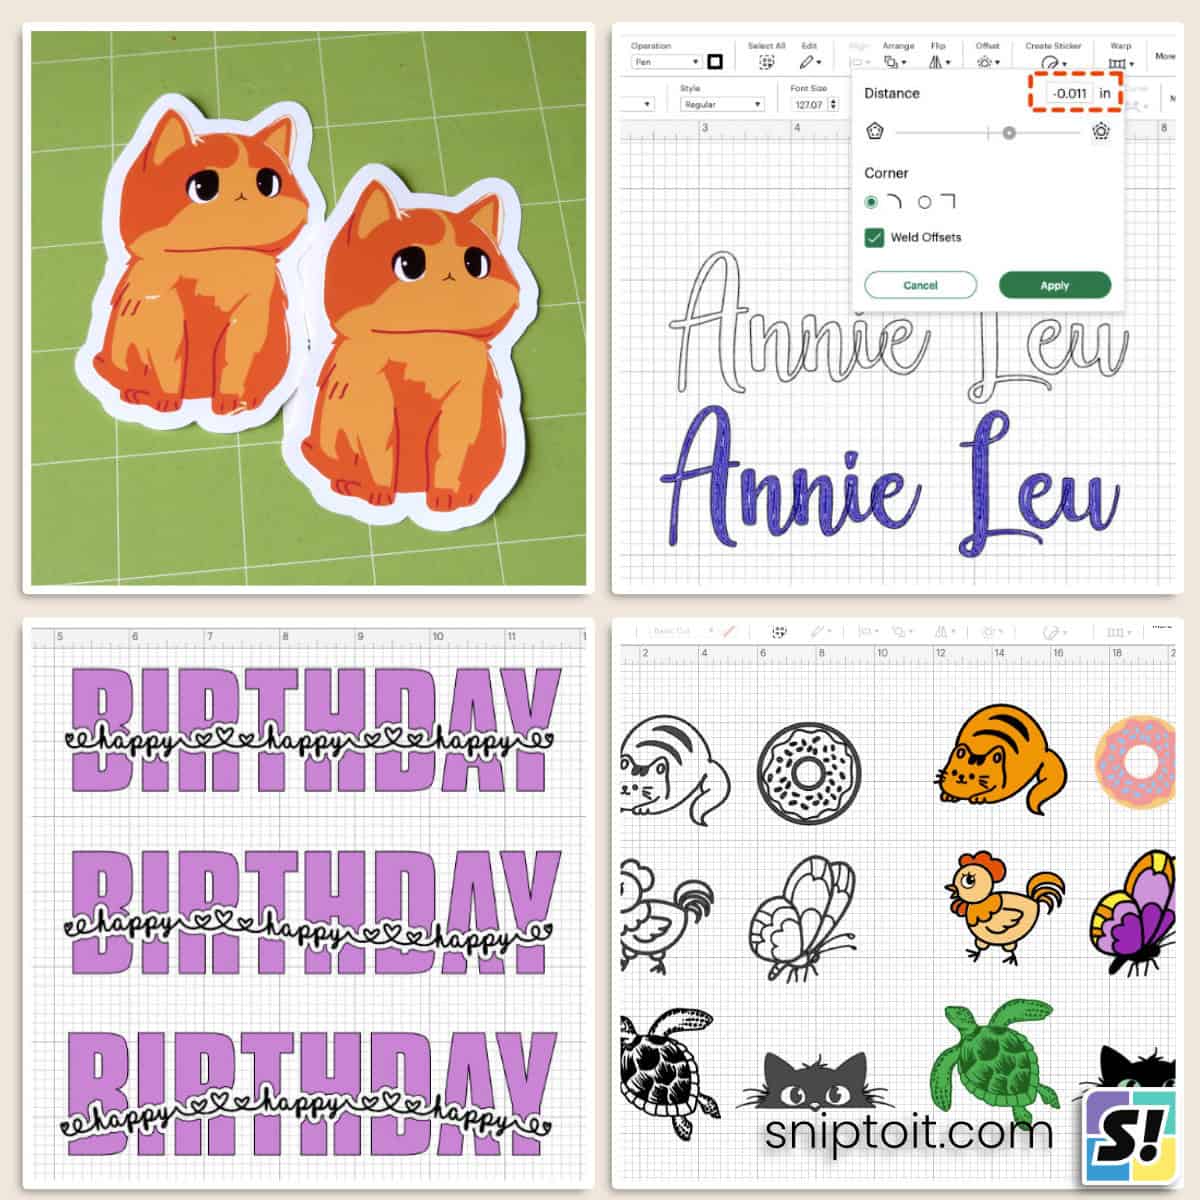
Advanced Design Space Techniques
Go beyond beginner projects! Explore layering, design, and workflow hacks that allow you to push Design Space to its limits. Make projects so cool it feels like you’re using a cheat code!