
This article is part of our Mastering Cricut Design Space learning hub. This is part of our series on the tools and techniques of the Canvas.
Fundamental to any project, you can’t get your Cricut machine to cut, draw, or score without choosing those Operations. Every project created by your Cricut will involve choosing which Operation to run for each piece of your design.
What do we need to consider about Operations? Why are they always carried out in the same order? This article will explain how Operations work in Design Space so you can plan your projects like a pro.
What are Operations?
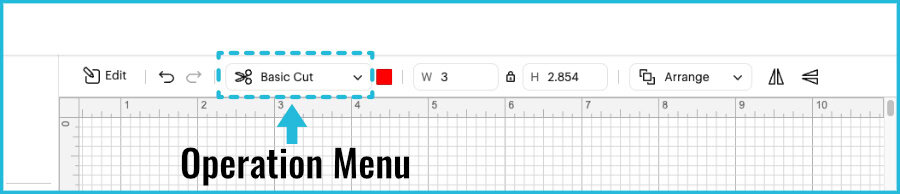
Operations are the instructions you give Design Space for what you want done with any layer of your project: cut, draw, foil, etc. As we show in our tour of the Canvas, the Operations menu lives in the Edit Bar. But it is actually a tool of the Planning function of Design Space, and it’s how you plan the line types used for every path of your project.
Why can’t I choose the Operation I want?
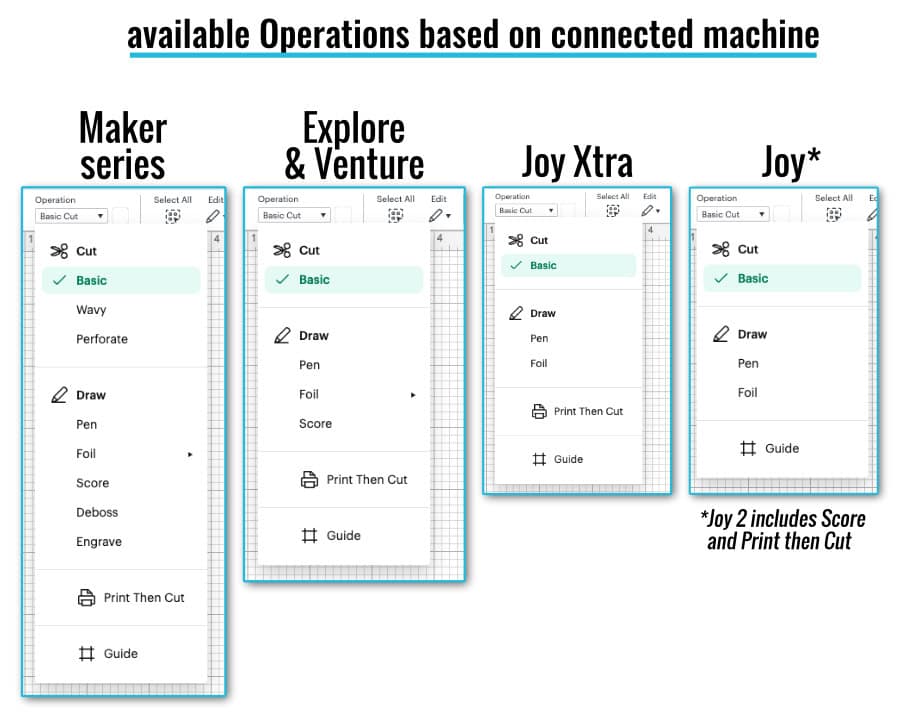
Operations correspond to the real-world machine tools your Cricut is going to use. For example, Draw will be carried out by pens or markers, Score will be executed using a Stylus or Wheel. Because different Cricut machines have different tool capabilities, the actual machine you are using will be what determines available Operations in the menu.
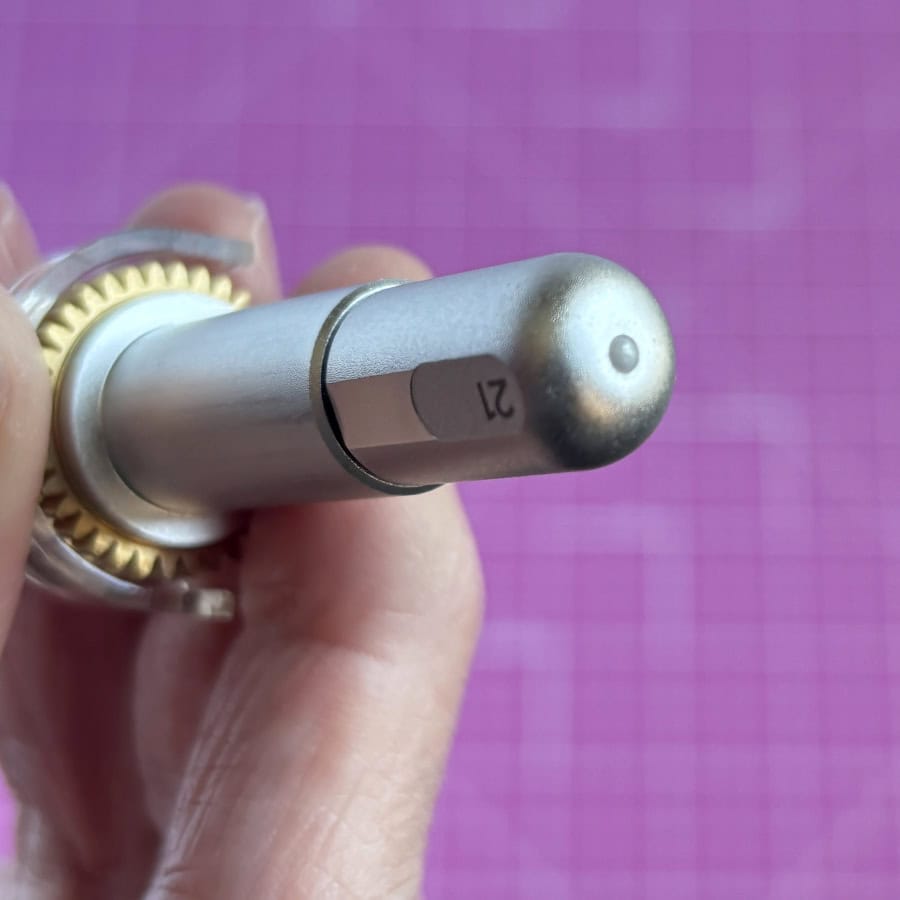
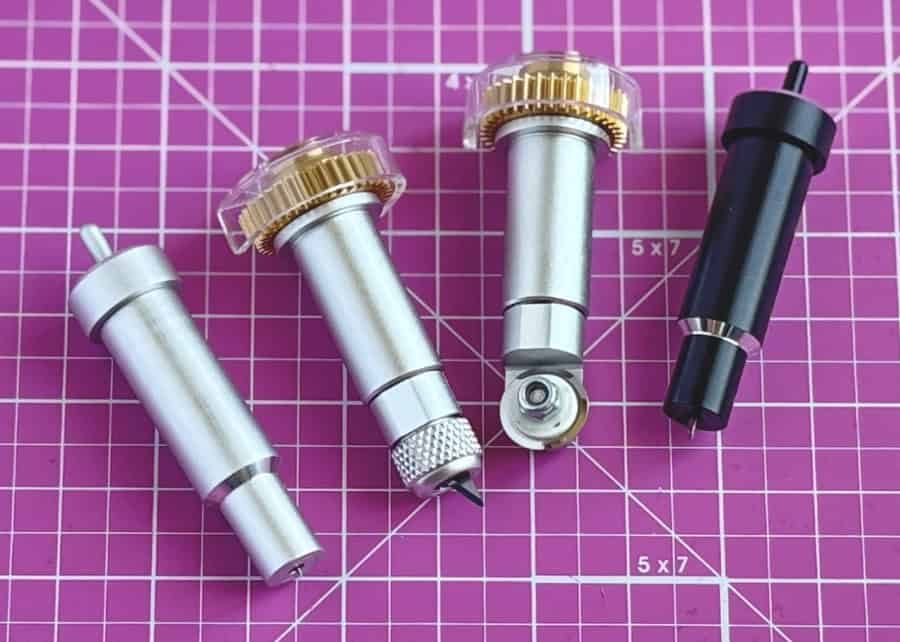
The Maker series of machines has the most Operations available, because it has the Adaptive Tool System to deboss, engrave, and make unique cuts.
What is the order of Cricut Operations?
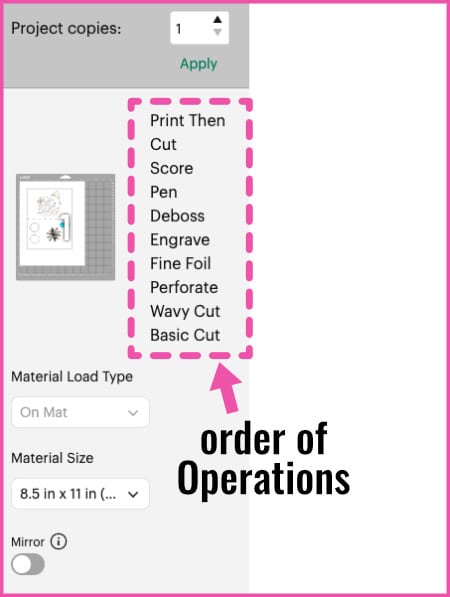
When you click Make and go to the Prepare screen, you will see the Operations to be carried out listed beside each mat. The Operations for each mat will always be executed in this order:
- Print Then Cut
- Score (Scoring Stylus or Scoring Wheel)
- Pen (pens/markers)
- Deboss (Debossing Tip)
- Engrave (Engraving Tip)
- Foil (Foil Transfer Tool)
- Perforate Cut (Perforation Blade)
- Wavy Cut (Wavy Blade)
- Basic Cut (Fine Point/Deep Point Blade, Bonded Fabric Blade, Rotary Blade, Knife Blade)
Notice that the same Operation can often be carried out by different tools. It’s the type of toolpath that matters most to Design Space planning: a cut is a cut. Also note that the Rotary and Knife Blades are material-specific, not special Operations.
How can I change the order of Operations?
Short answer: you can’t. The order in which Operations are executed is set and cannot be changed. This ensures the success of your projects and the safety of your machine.
You could work around this by doing an Operation (e.g. foiling), cancel the cut, hide that Operation on the Prepare mat, then reload the mat to do the next Operation (e.g. scoring). This risks misalignment of the Operations on your material and I don’t recommend it.
Why can’t I change the order of Operations? Why can’t I foil first?
The order of Operations is set by Design Space to consider the physical realities of project construction. In short, Design Space has to consider material stability, operation accuracy, and risk management for your Cricut machine.
The #1 engineering rule controlling order of Operations is this: do everything requiring precise positioning before you do anything that might affect the stability or shape of the base material. Destructive, high-impact processes that will affect material integrity (like cutting) must occur after low-impact, non-destructive ones (e.g., Draw).

Think about the forces on your material on the mat. The mat adhesive holds your material in place, and it has to withstand the pressure of the machine rollers plus the downward pressure and drag of different tools. Every Operation affects those forces differently. I don’t have any insider information, but here are my best guesses as to why the Operations occur in this order…
Print Then Cut: just the print, ma’am, just the print
Print (but not Cut!) is the very first Operation carried out for any given mat. The reason for this is pretty obvious: you need a full sheet of intact material to run through a printer before you even put it on a mat.
Only the printing will come first, however. If you Attach other Operations to a Print Then Cut image, printing will be the first executed, then all of the machine tool Operations (score, draw, deboss, etc.) will follow, in order, until the final cut.
Why Score is the first machine tool Operation
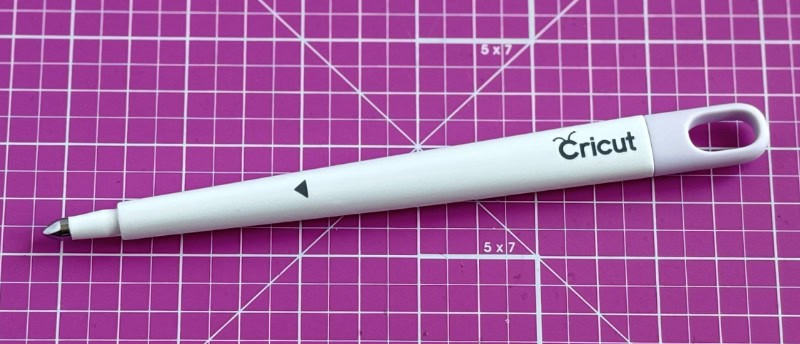
The Scoring Stylus, which is the most common tool for scoring, puts maximal stress on your cardstock, with downward pressure and lateral (sideways) drag. You need to score your cardstock while it is at its most stable: stuck down tight to the mat, perfectly flat, no cut lines. If you scored after cutting, imagine how the cardstock could be dragged out of place, ruining your project and risking jamming up your Cricut.
Draw: the next in line
Using a pen in your Cricut doesn’t use much downward pressure, but even-looking lines require an even, flat surface. You want to write before the cardstock has been subjected to anything that might cause ridges and valleys (debossing, cutting), or might move the cardstock out of place. Wet ink on ridges would also be more easily smeared by subsequent tools and their housing.
Deboss & Engrave: the heavy pressure tools
Both the Debossing and Engraving tips create grooves in your material. Debossing uses lots of pressure to compress fibers, and engraving actually scratches away surface material.
Debossing
You’re likely to be debossing cardstock (I think foil cardstock does the best job of showcasing the effect), and in that case you might also be scoring and/or drawing first. Scoring uses downward pressure and friction – you need your material to be maximally stuck down, so it needs to be first. Drawing requires a flat surface, so it makes sense to do it before debossing creates a bunch of grooves.
Debossing uses a lot of downward pressure, but the Debossing tip has a little ceramic roller ball instead of a static tip, so there’s not much lateral drag from the tool. That means debossing can be done later than scoring.
Engraving
Engraving is usually done on hard materials like metal and acrylic, in which case order of Operations doesn’t actually matter a lot. The most common blanks for engraving are pre-cut, so this is likely an Operation you’ll be carrying out on its own. And if you’ve actually done engraving, you know that you will be using the strongest grip mat, plus tape around your blank to hold it down – lots of force and friction from this tool!
Keep in mind that engraving does generate debris (the technical term for that is “swarf“, which is ridiculous). You definitely wouldn’t want this step coming before drawing. If you want to engrave and then foil something like faux leather or heavy card of some kind, then I recommend gently removing the swarf (lol) from the material before foiling.
Foiling: annoyingly late in the game
Now here’s the big one, for all of us who have struggled with the Foil Tool. Why oh why does foiling have to happen after scoring???
You know what I mean: you’re making a foiled card, and instead of being able to tape that static-y piece of foil down before you load the mat, you’ve got to wait until the card is scored and then tape the foil to the mat while it’s in the machine. Horrible! This is perhaps the most annoying thing that will make you hate the fixed order of Operations in Design Space.

But the foil is a surface finish more than anything else, and as much as it pains me to say, I think it makes sense to add it right before cutting. I’ve noticed that the foil finish can be rubbed off fairly easily, so I think that foiling next-to-last ensures that the delicate surface of the foil doesn’t get scratched or damaged by other tools or their housings.
Cuts of all kinds: last in line
Every kind of cutting gets done last for every project. Cutting with the Perforation Blade gets done before other cuts, presumably because it is most common to add a perforated line as an interior cut, with a basic cut around the outside of a shape (for example, a ticket with a tear-off end).
In general, I’ve noticed that interior cuts get done before exterior cuts, which keeps the largest amount of material intact as long as possible.
Once cut, a shape is no longer supported by surrounding material. Small pieces can lift, corners can curl, and the material loses uniformity across its surface. Cutting before doing any Operation that uses downward pressure would be a huge mistake and failures would skyrocket.
To combine Operations on the same mat: Attach!
Have you ever clicked Make and the Operations you thought were grouped are now shown on different mats? Easy fix: select all the layers (with their different Operations) that you want to be on the same mat and click Attach.
Attach is the tool that locks things in place so they will stay that way as you make your project. If you want Operations performed together on the same mat, they must be attached.
What is the Guide operation for, anyway?
I haven’t said anything about the mysterious Guide at the bottom of the Operations menu. If you select a shape, text, or image and choose Guide as the Operation, it will turn that object into a pink outline that will appear on the Canvas but will not actually be made as part of a project. Guide is a line type, but not a toolpath type, and Guide lives exclusively on the Canvas.
One of the reasons you might want to use a guide is as a project template. All of the templates included in the “Layouts” option of the Design Panel have their Operation set to Guide. Or you might just want to use a template as simple as a square in the dimensions of whatever blank you’re using.
You can also write project instructions and turn the text into the Guide line type. This is commonly seen with projects shared to the Cricut Community.

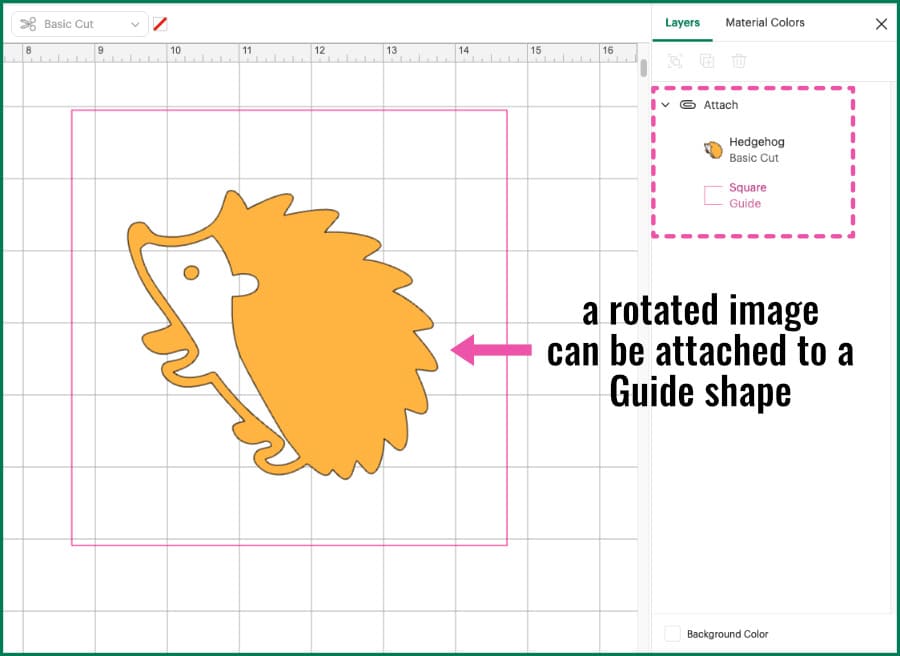
Another very good reason to use Guide is to preserve rotation and positioning of layers without adding space around them. If you rotate an object and click Make, that positioning will not be maintained on the mat as you go to the Prepare screen. But if you Attach your rotated object to a Guide layer, the positioning of the object will be maintained without the Guide showing up on the mat at all.

What’s Next?
Now that you know the ins and outs of Operations and how to use Guide, keep exploring the ways to use the tools of the Design Space Canvas: